Seasonal · The nail edit
20 Easter Nails for Kids You Can Try at Home
Take Aways Easter nails for kids should feel fun first and simple second. This collection covers soft pastel eggs, friendly bunnies, baby chicks, carrots, flowers,...

Take Aways
- Short, round nails and pastel colors keep Easter nails easy and comfortable for kids.
- One or two accent nails are enough to add a bunny, chick, or egg without a long session.
- Dotting tools, stickers, and press-ons can make detailed looks simple at home.
- Thin coats, full drying time, and a clear top coat help the design last longer.
- An adult can help with shaping, small details, and gentle removal.
Easter nails for kids should feel fun first and simple second. This collection covers soft pastel eggs, friendly bunnies, baby chicks, carrots, flowers, and spring skies, all in looks that work on short nails. Some designs use only color and dots, while others add one small character on an accent nail. You can choose a quiet pastel set for school, a bright set for an egg hunt, or a mixed set for Easter Sunday, and each idea below explains how to recreate it at home.
1. Pastel Easter Egg Skittle Nails
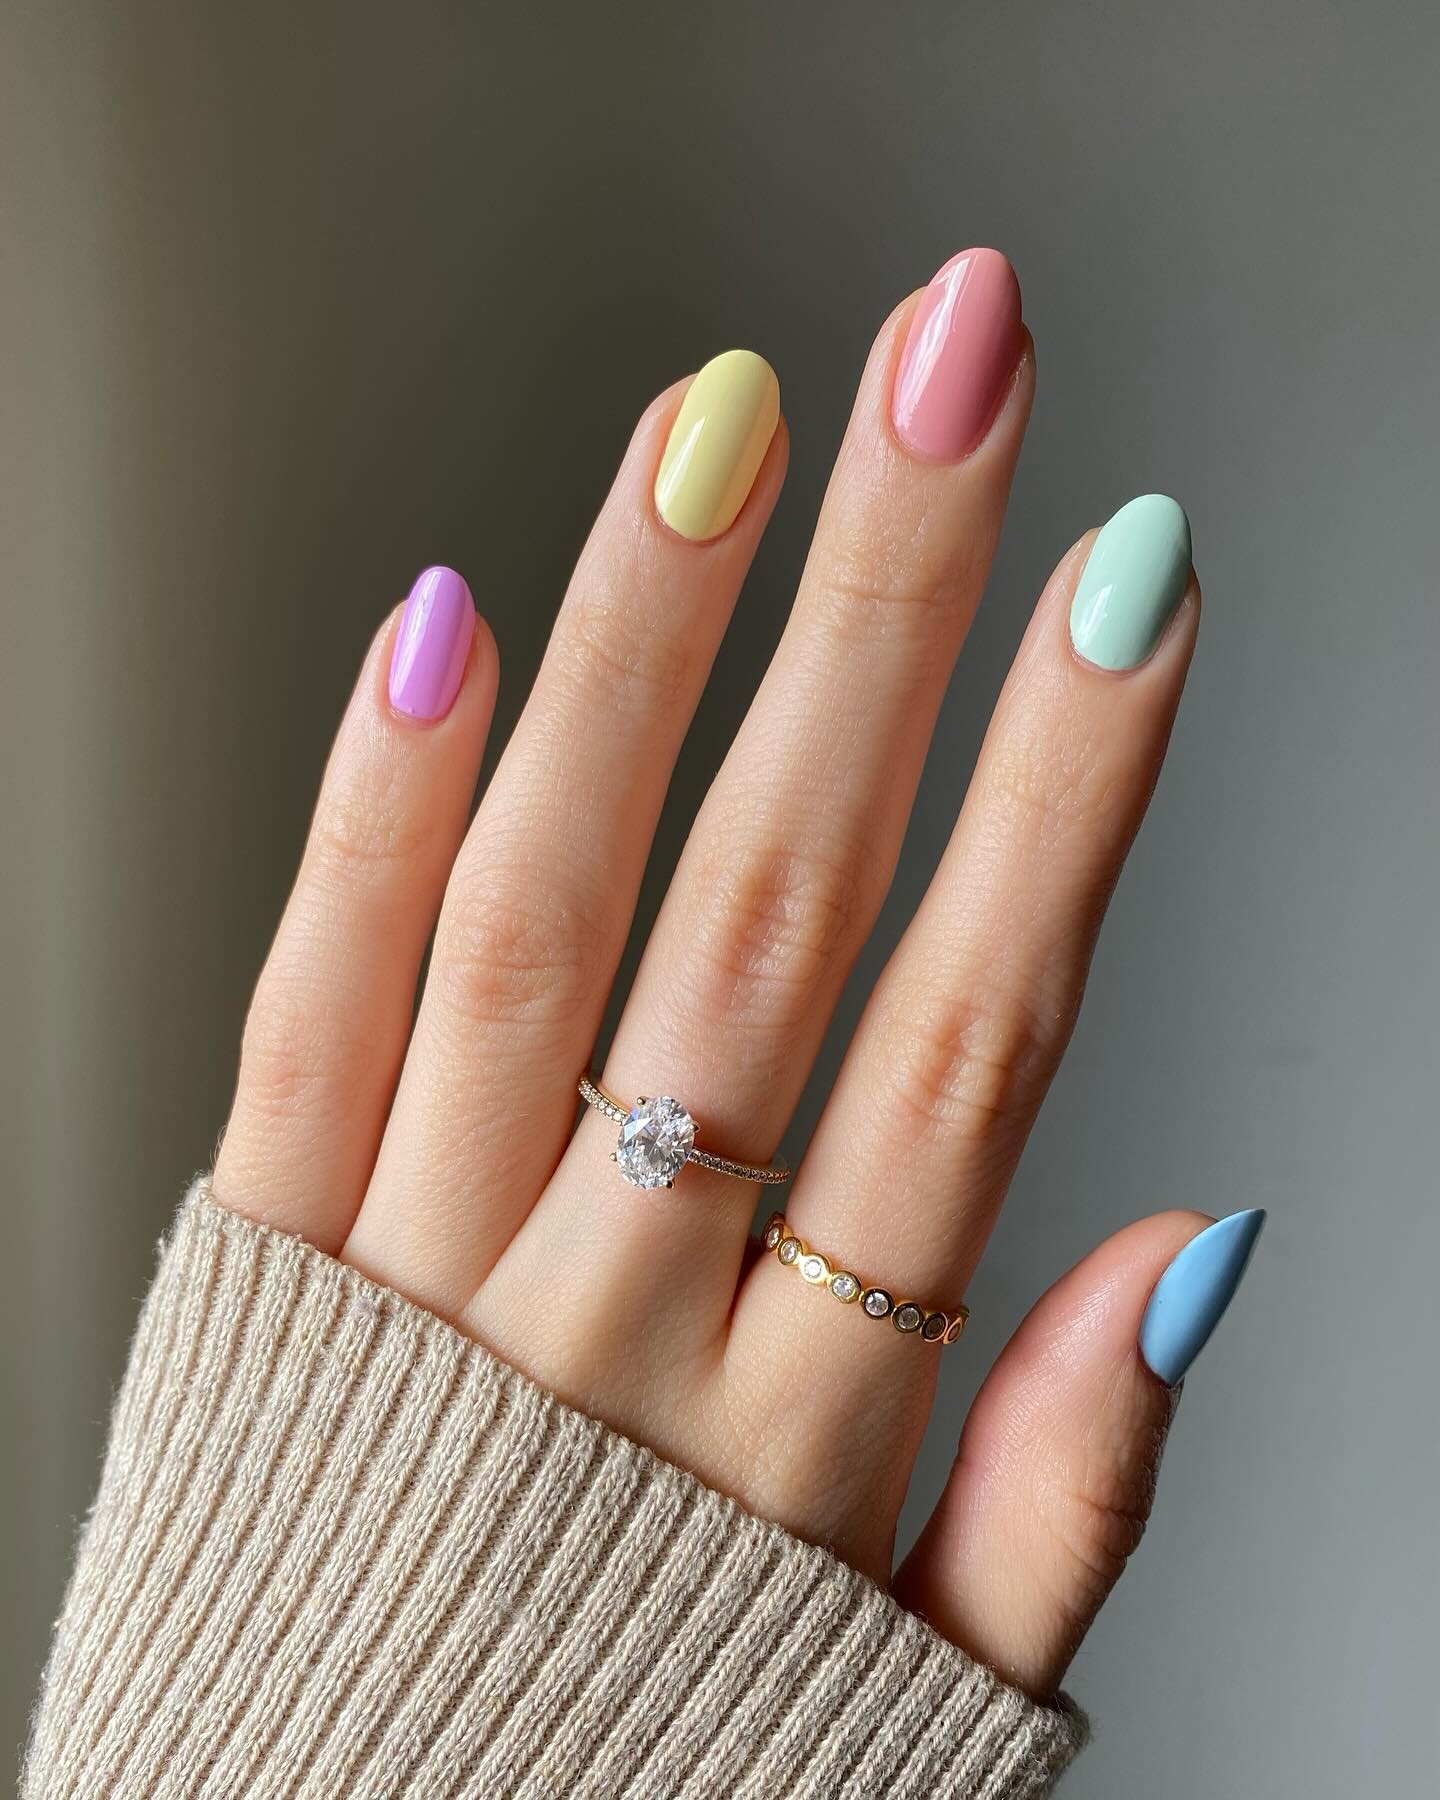
Short, round nails look neat in five soft pastels: baby pink, mint, lilac, sky blue, and butter yellow. Each nail gets one solid color with a smooth, glossy finish, so the hand looks like a small basket of dyed eggs. The colors stay light and cool toned, which keeps the set gentle on the eye and easy to match with spring clothes.
This is a good first choice when time is short or freehand art feels tricky. It works well for younger kids because there is no small face to draw, and a chipped nail is easy to fix with one coat of the same color. Keep the nails short and rounded so the colors, not the length, carry the Easter feel.
How to Apply
- Shape short, round nails, then apply a clear base coat and let it dry.
- Paint each nail a different pastel, using two thin coats for even color.
- Let each coat dry fully before the next one to avoid smudges.
- Seal with a clear top coat for shine and longer wear.
2. Bunny Face Accent Nails
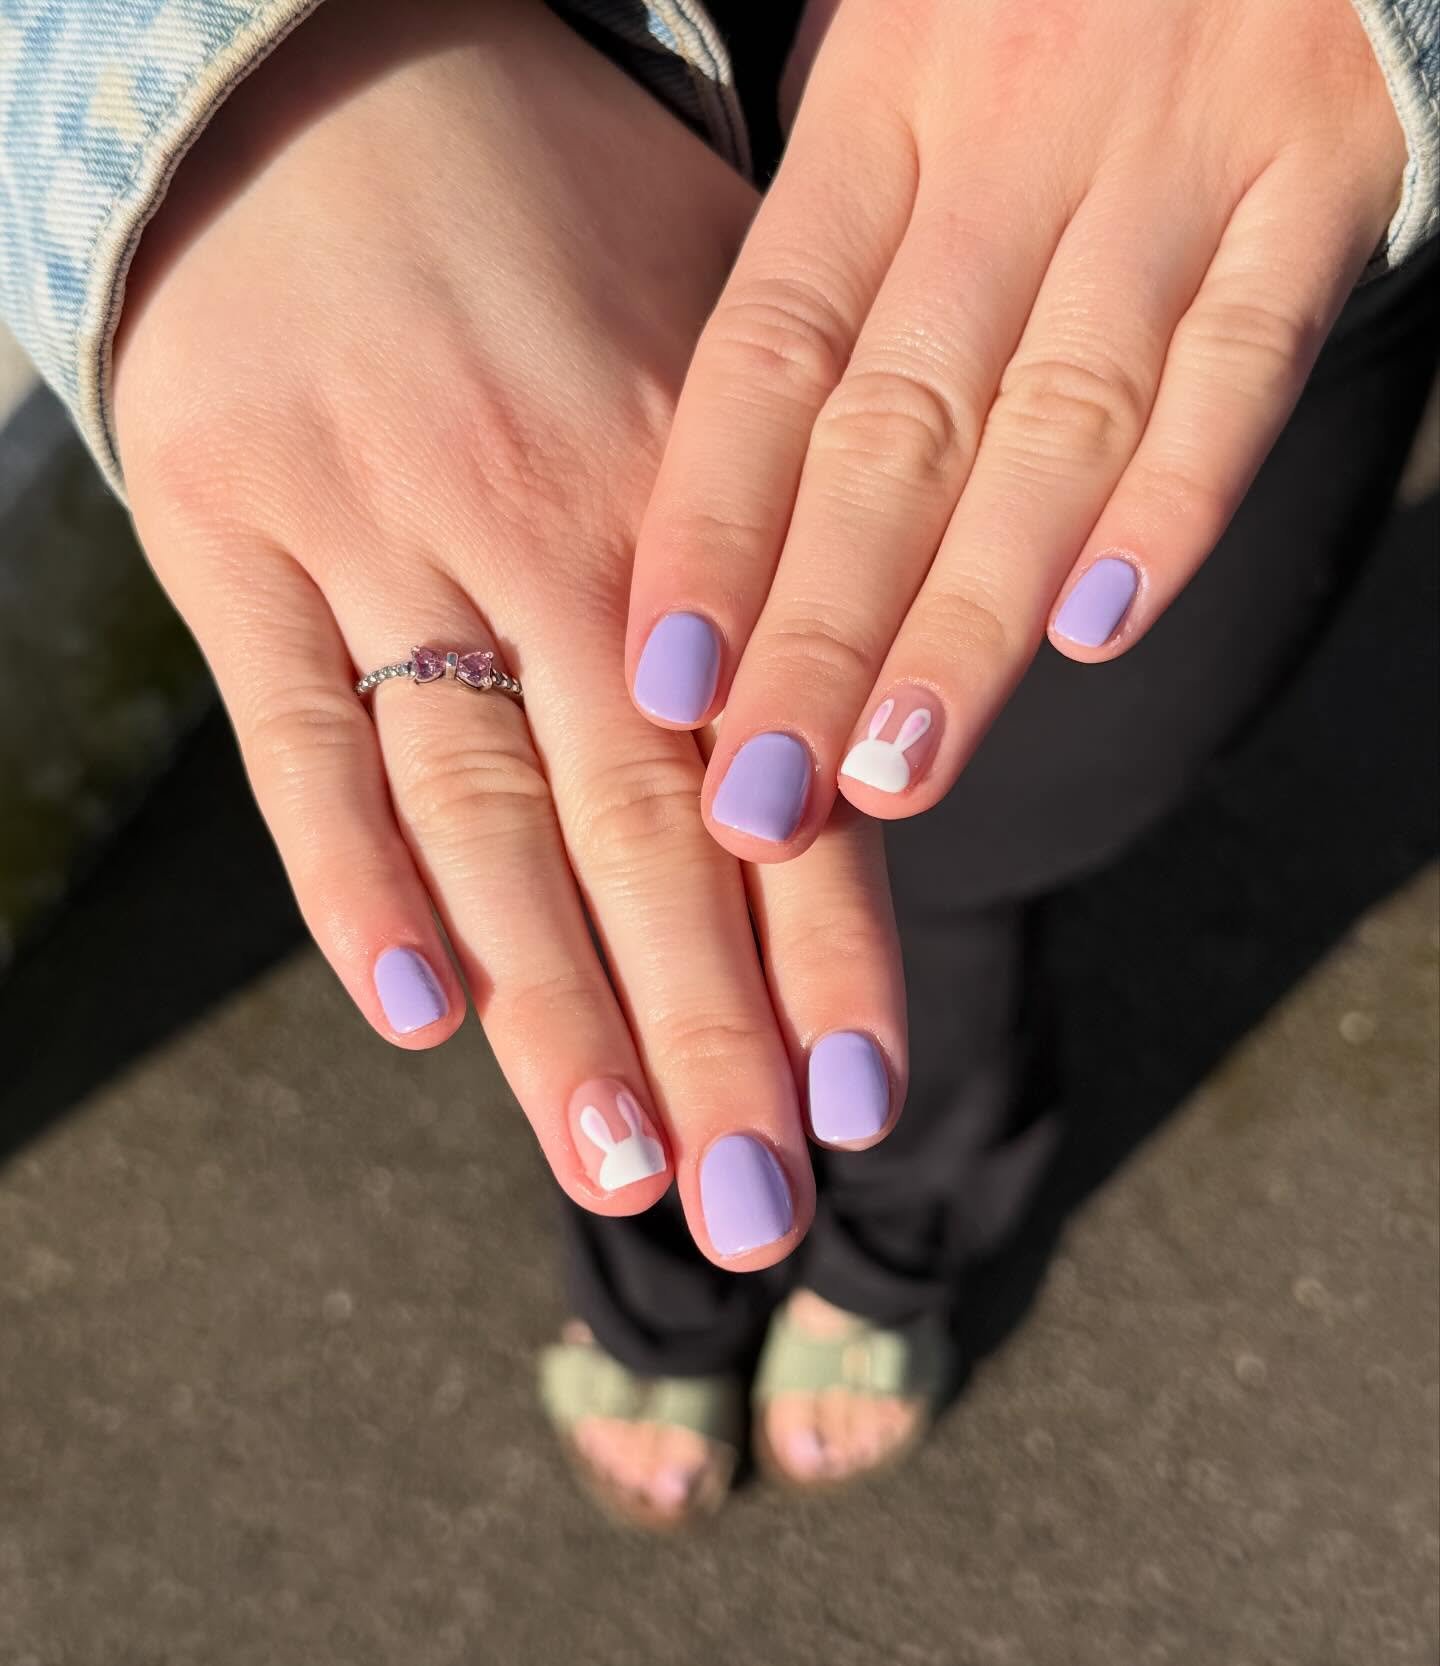
Soft pink nails form a calm base, while one or two accent nails carry a simple white bunny face. The face uses two long ears with pink centers, two small black dot eyes, and a tiny pink nose, all placed near the tip so the design stays clear on a short nail. A glossy top coat keeps the white bright and the pink soft.
This design suits a child who wants a clear Easter character without art on every nail. It also works well with stickers if freehand ears feel hard, and the pink base still looks finished if the bunny is kept small. Short, round nails help the face fit without crowding the sides.
How to Apply
- Apply a base coat, then two thin coats of soft pink polish and let them dry.
- On one accent nail, paint a white oval near the tip for the bunny face.
- Add two white ears with pink centers, black dot eyes, and a small pink nose using a dotting tool.
- Seal with a clear top coat once the art is fully dry.
3. Speckled Robin’s Egg Nails
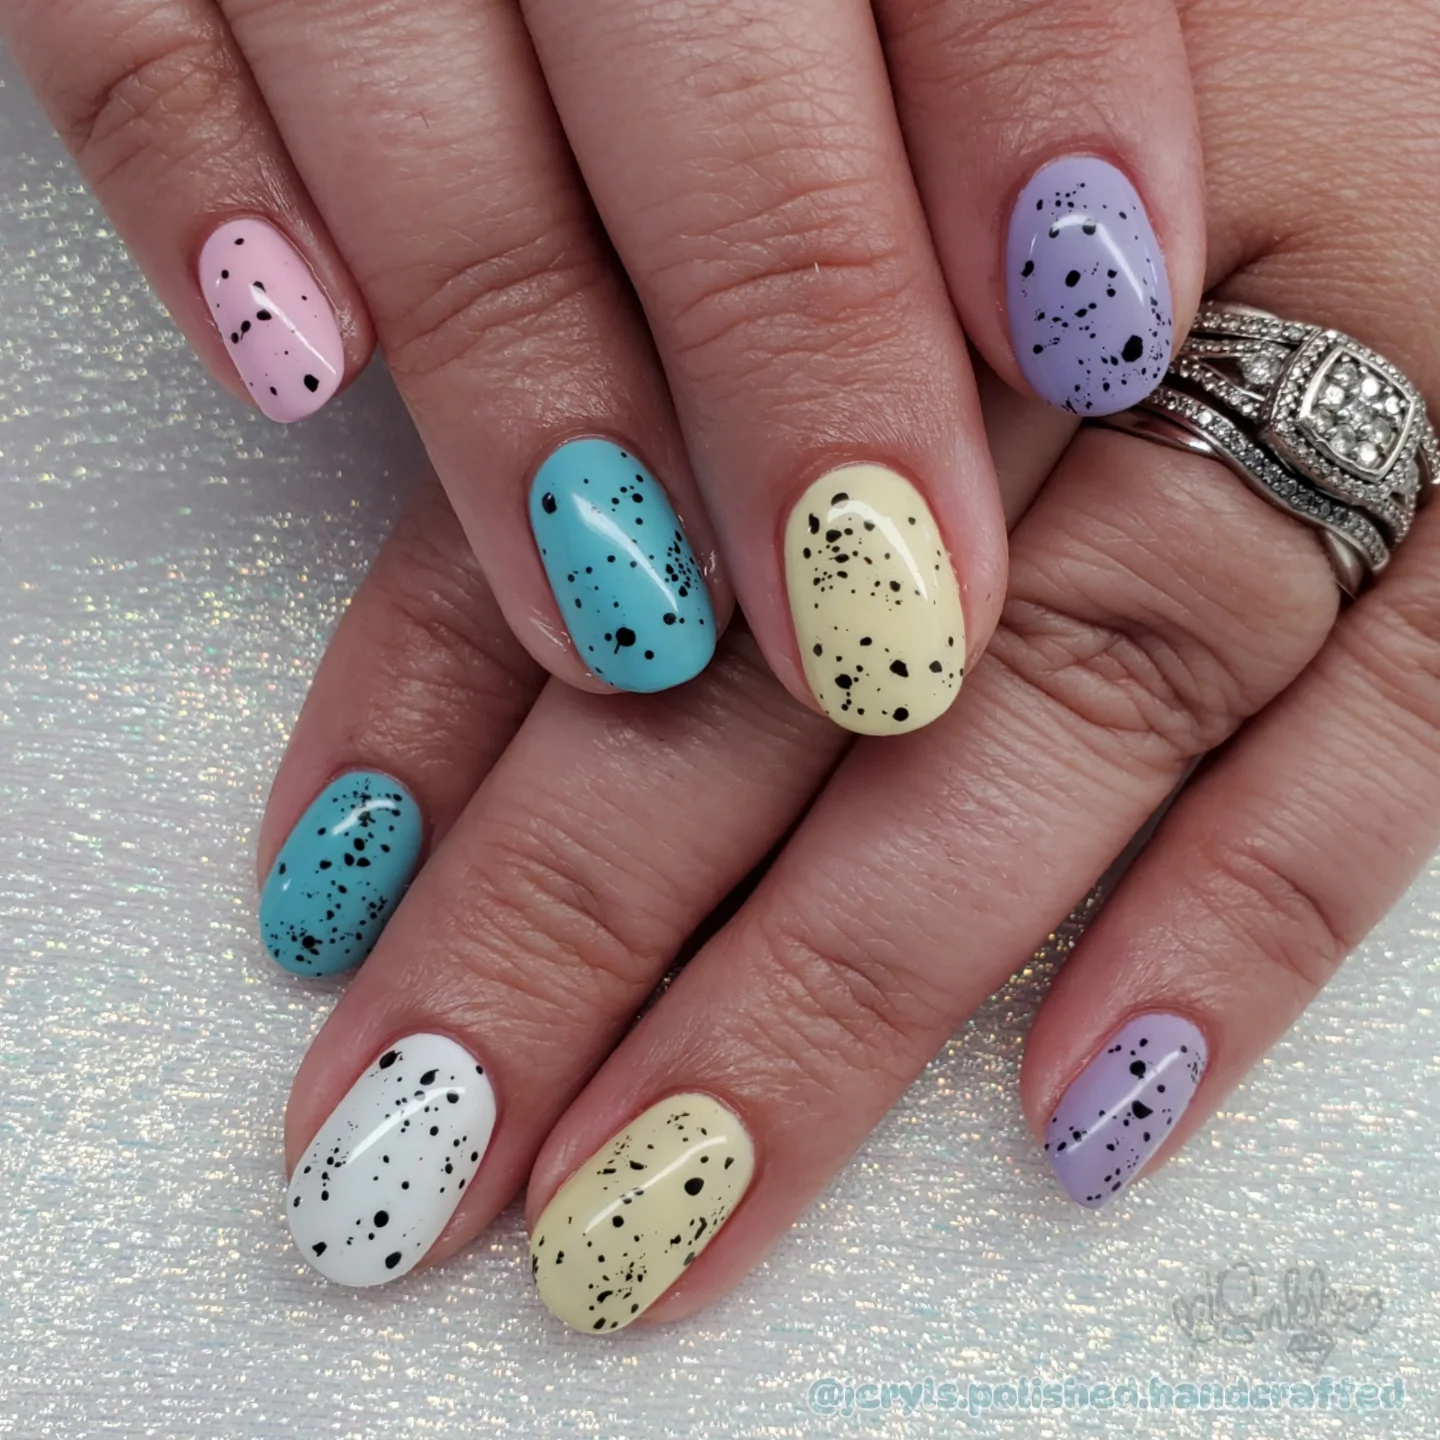
A pale blue base gives these nails the look of a robin’s egg, with tiny dark speckles scattered lightly across each nail. The speckles sit mostly near the center and edges, not in thick clumps, so the blue stays visible and the pattern looks natural. A matte finish can make the egg effect stronger, while a glossy finish looks more like a polished candy egg.
This is a smart pick for kids who like nature and quiet colors. The speckles hide small smudges better than a plain solid color, and the design needs no face or fine lines. Keep the nails short and oval so the speckled pattern reads clearly from a normal distance.
How to Apply
- Shape short, oval nails, apply a base coat, then two thin coats of pale blue polish.
- Dip a small sponge or old toothbrush lightly in dark brown or black polish and tap off the excess.
- Flick or dab tiny speckles over each nail, keeping them small and spaced out.
- Let the speckles dry, then finish with a matte top coat for an egg look or a clear top coat for shine.
4. Baby Chick Yellow Nails
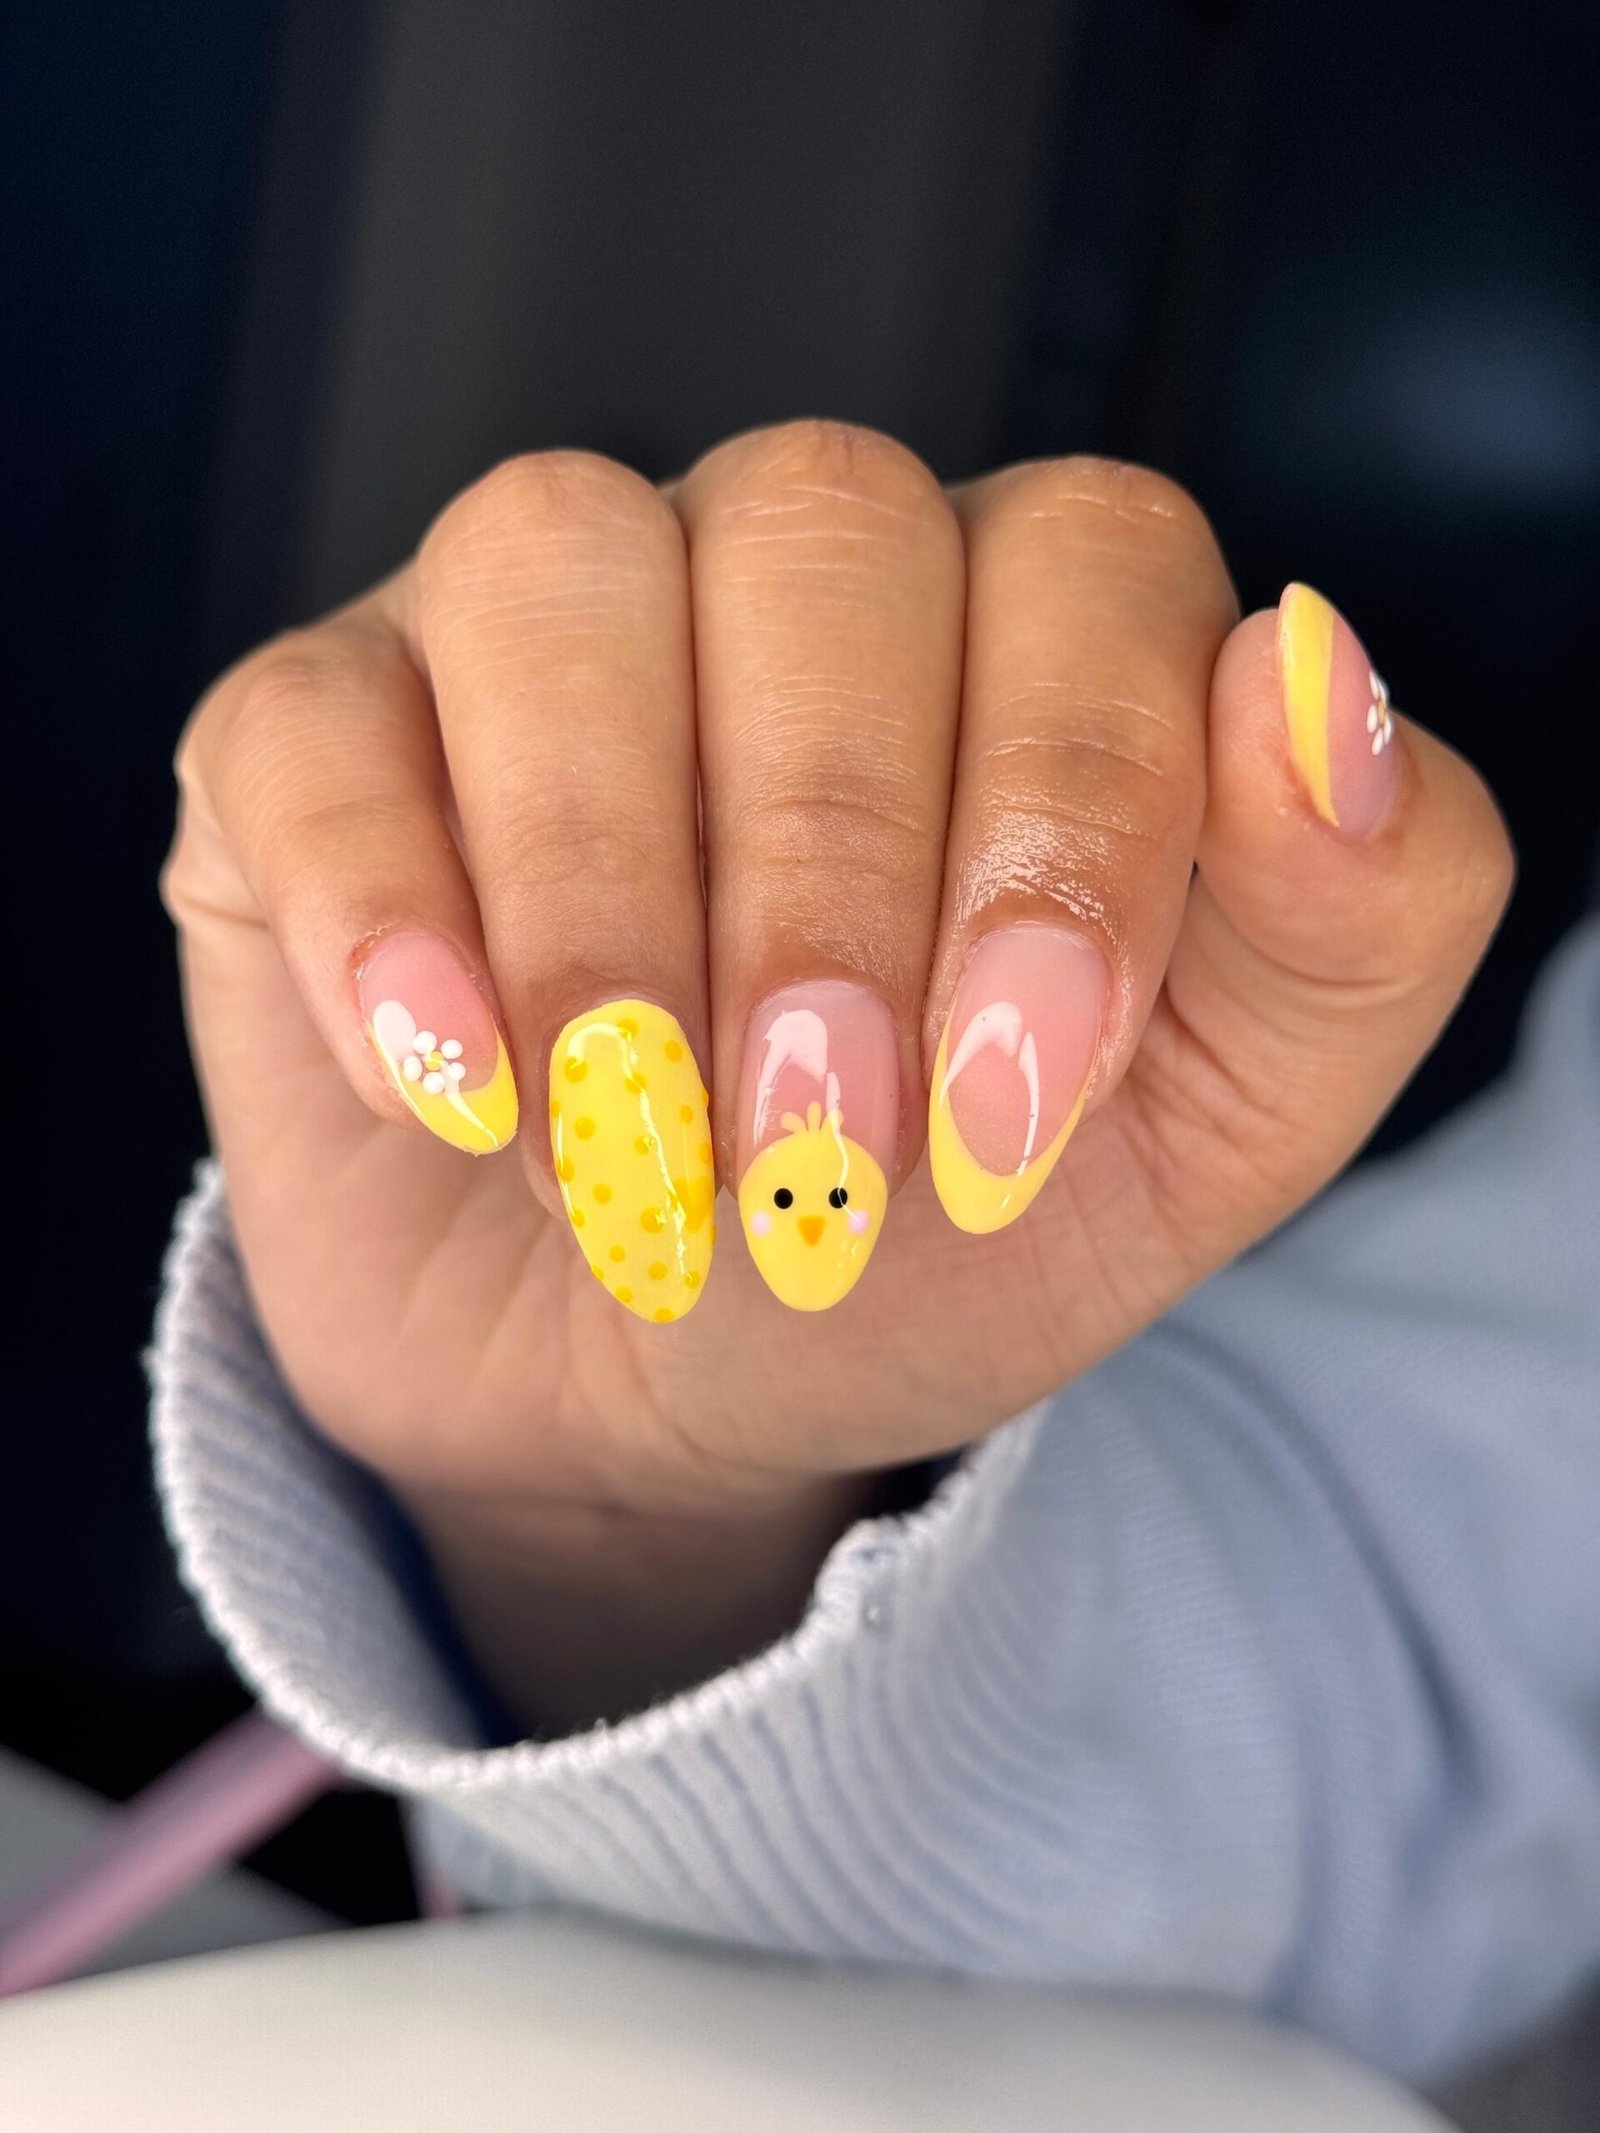
Warm, creamy yellow covers short, round nails in this sunny design, with one accent nail carrying a small chick face. The chick uses two black dot eyes and a tiny orange triangle beak, placed low on the nail so the yellow still reads as the main color. The finish stays glossy, which makes the yellow look fresh rather than flat.
Yellow suits Easter morning, egg hunts, and bright spring outfits, and it also photographs well in daylight. This design is best for a child who can sit still for one small face, while the other nails stay simple. If the beak feels tricky, a chick sticker on the accent nail gives the same effect.
How to Apply
- Apply a base coat, then two thin coats of creamy yellow polish and let them dry.
- On one accent nail, add two small black dots for eyes using a dotting tool.
- Paint a tiny orange triangle below the eyes for the beak.
- Seal with a clear top coat once the face is dry.
5. Carrot Patch Accent Nails
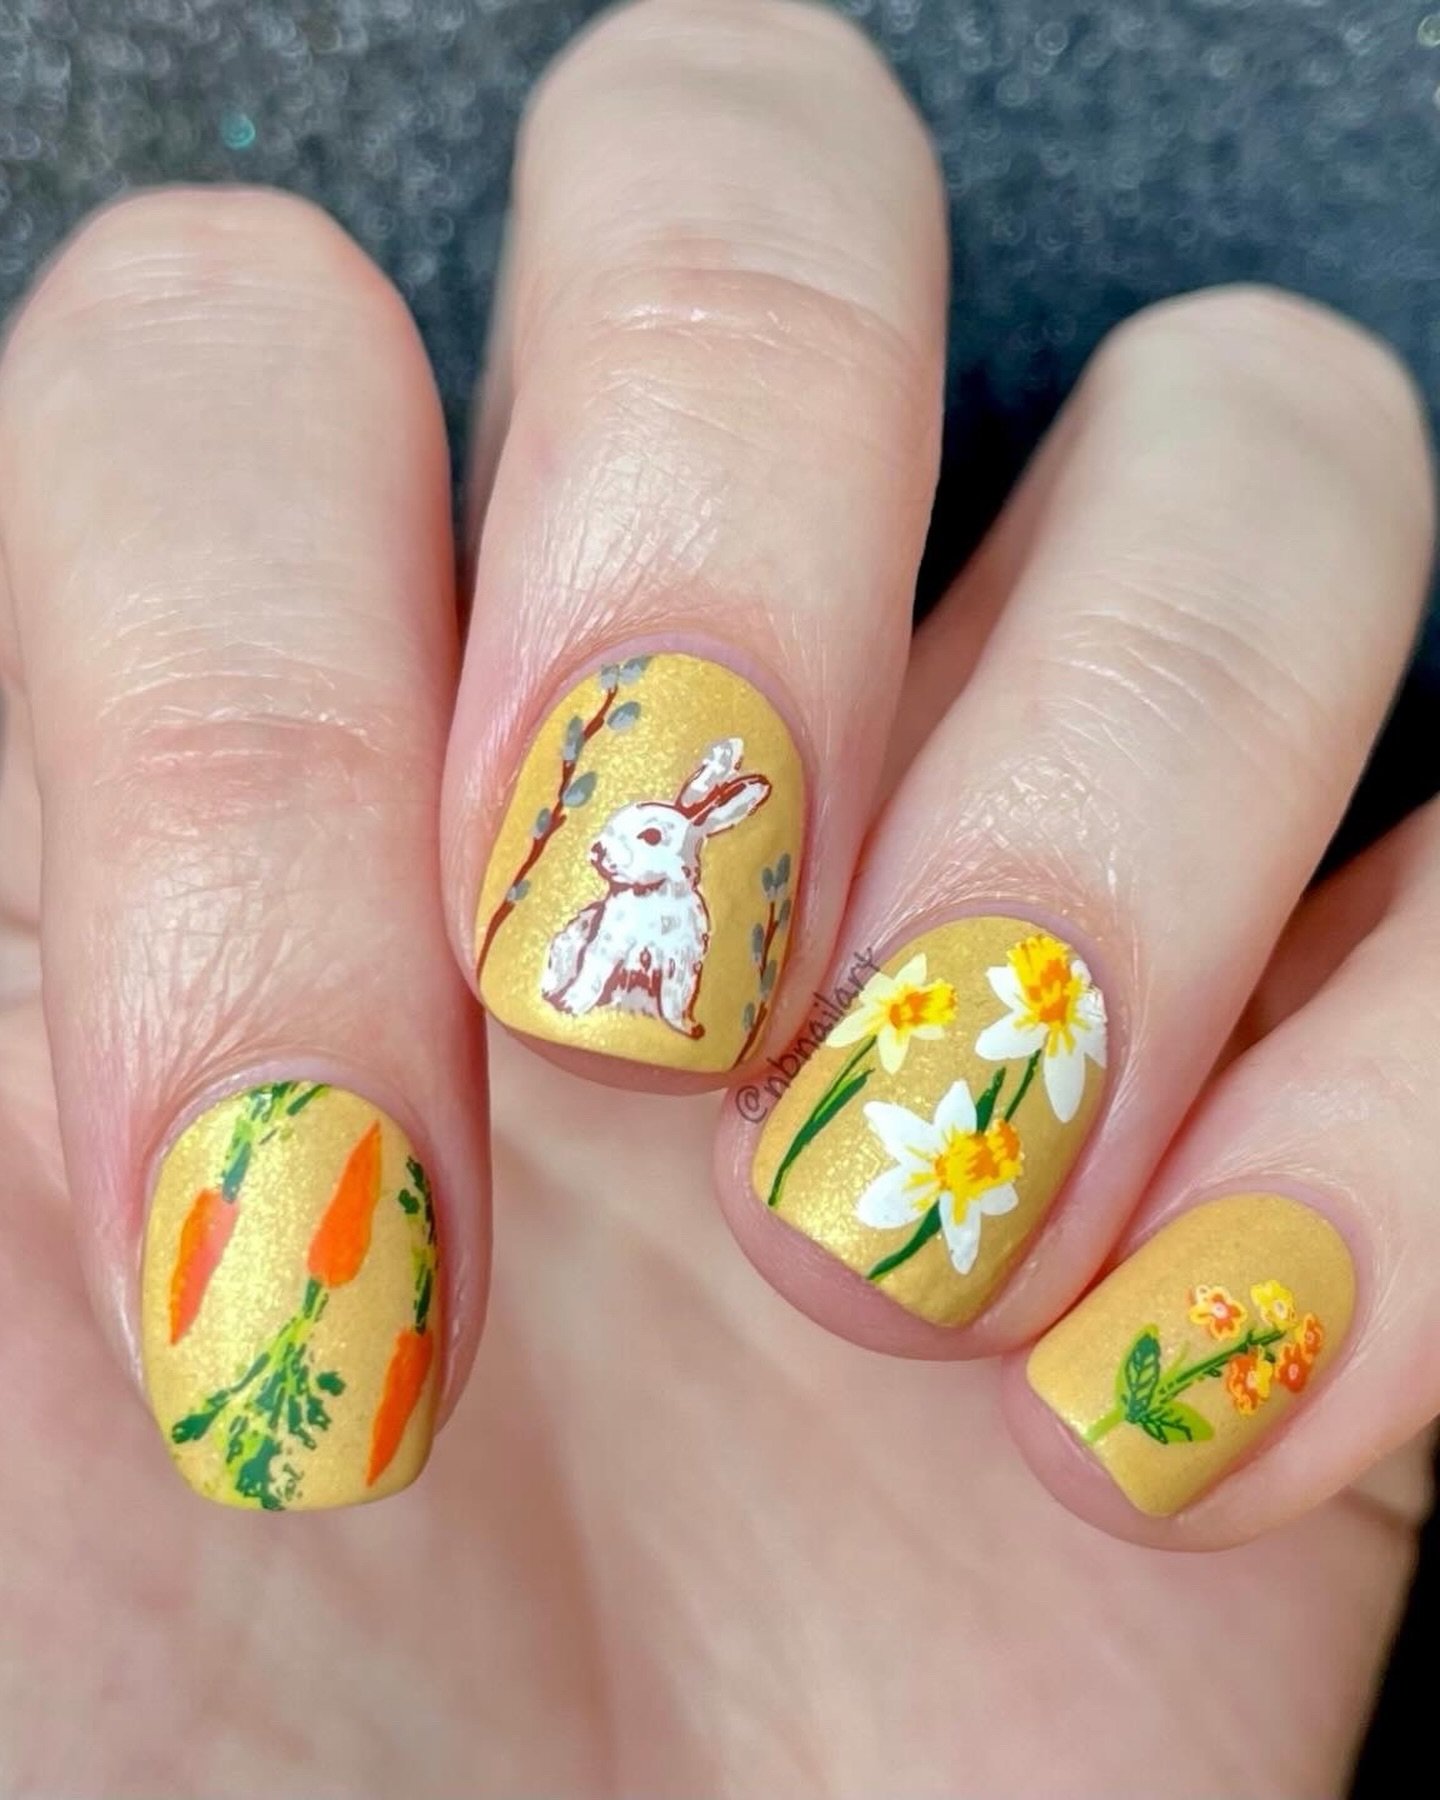
A soft white or pale peach base keeps this design light, while one or two accent nails show a small orange carrot near the tip. The carrot is a simple tapered shape with a few short green strokes at the top for leaves, and it sits upright so it reads clearly on a short nail. The other nails stay plain, which makes the carrot stand out without clutter.
This is a fun choice for an egg hunt or a garden themed Easter outfit. It pairs well with green or orange clothes, and the carrot is easier to paint than a full bunny face. Short, square or round nails both work, as long as the carrot is kept small and centered.
How to Apply
- Apply a base coat, then two thin coats of white or pale peach polish and let them dry.
- On an accent nail, paint a small orange tapered shape near the tip.
- Add three short green strokes at the top for leaves and let the art dry.
- Seal with a clear top coat, taking care not to drag the green strokes.
6. Bunny Ear French Tips

White French tips get an Easter twist here, with two slim bunny ears rising from the tip on one or two accent nails. The base stays sheer pink or nude, so the white tips look clean, and pink centers inside the ears add a soft, friendly detail. The ears are kept short and close together, which helps them fit on small nails.
This design feels a little more dressed up than a plain pastel set, but it still uses only basic shapes. It suits Easter Sunday clothes and light pink or white outfits, and it looks tidy on short, oval nails. If freehand ears feel hard, thin ear stickers placed over a white tip can work well.
How to Apply
- Apply a base coat and one coat of sheer pink or nude polish, then let it dry.
- Paint clean white tips across all nails using a thin brush or guides.
- On accent nails, extend two slim white ears above the tip and add pink centers.
- Seal with a clear top coat once the tips and ears are fully dry.
7. Pastel Polka Dot Nails

A pale base, such as mint, lilac, or baby pink, carries small, even dots in white and one or two contrasting pastels. The dots are placed in loose rows, not in a strict grid, so the nails look playful rather than formal. A glossy finish keeps the dots crisp and makes the pastel base look fresh.
Polka dots are one of the easiest Easter patterns for kids because a dotting tool or toothpick does most of the work. They suit almost any spring outfit, and they hide uneven polish better than stripes. Short, round nails give each dot enough space without crowding the cuticle.
How to Apply
- Apply a base coat, then two thin coats of a pale pastel polish and let them dry.
- Dip a dotting tool in white polish and place small dots in loose rows.
- Add a few dots in a second pastel for contrast, keeping the dots small.
- Seal with a clear top coat once all dots are dry.
8. Tiny Daisy Garden Nails
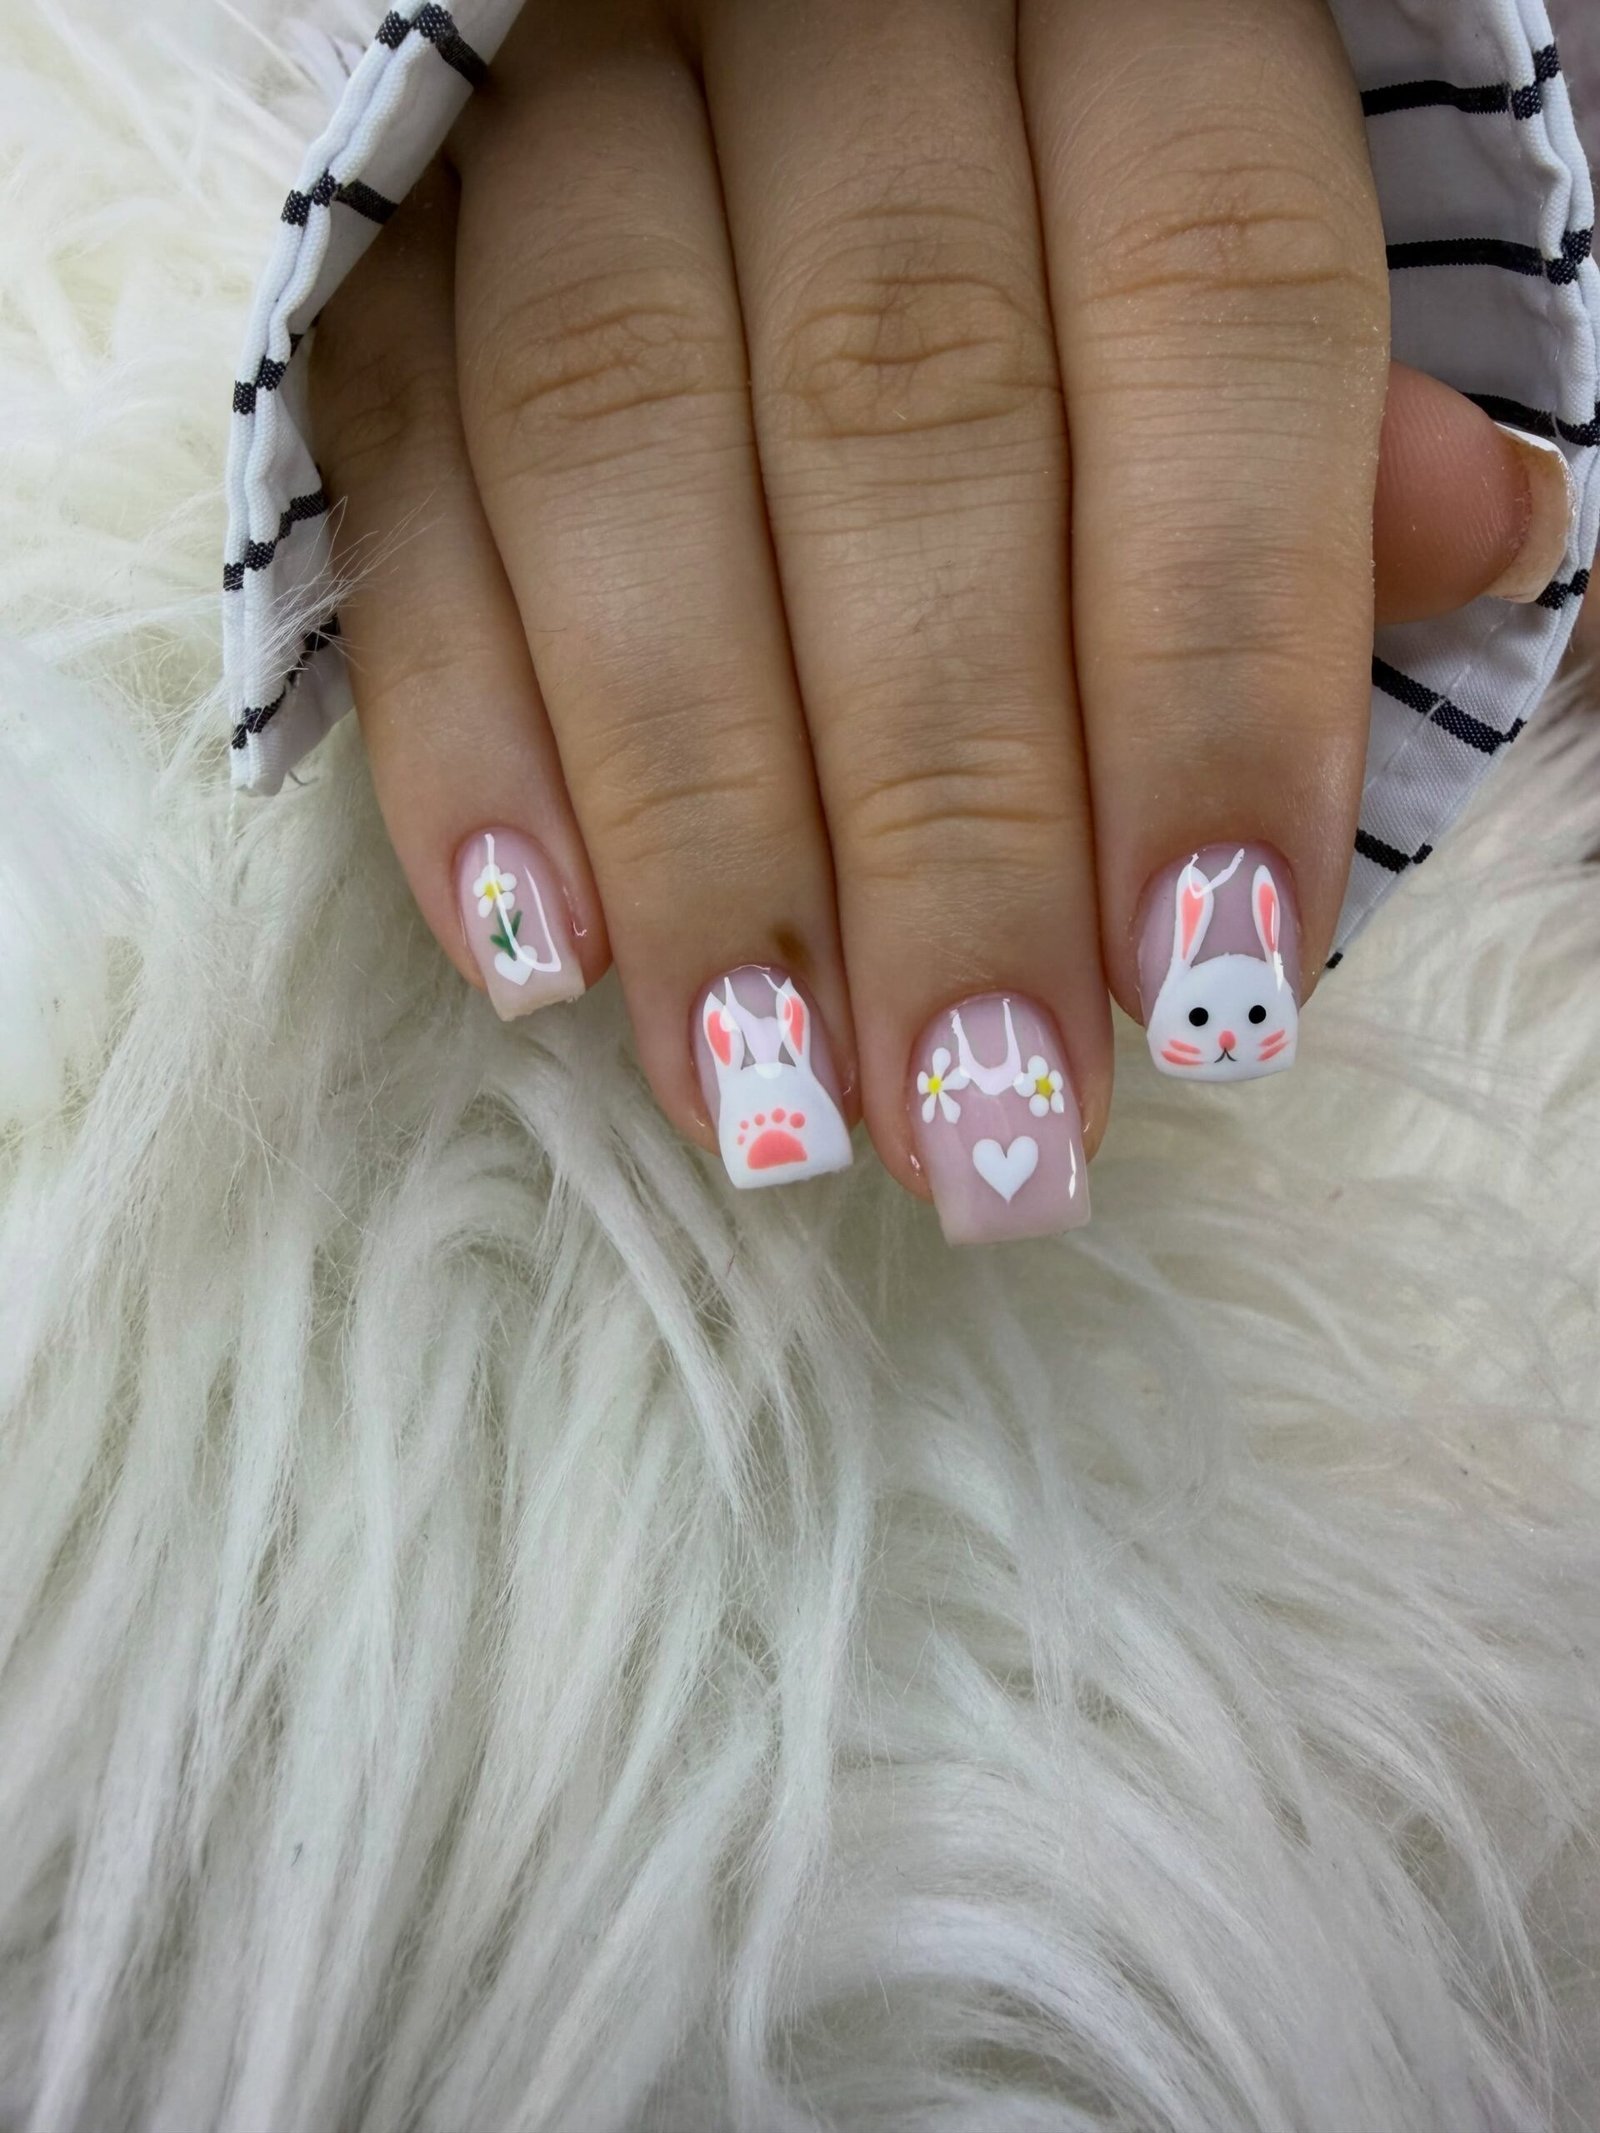
A sheer nude or pale pink base lets small white daisies stand out on one or two accent nails. Each daisy has five or six short petals around a tiny yellow center, placed near the tip or corner so it does not cover the whole nail. The other nails stay plain or carry one small dot, which keeps the garden feel light.
This design works well for spring parties and floral dresses, and it also links naturally to other flower looks. For a simple version, daisy stickers or a dotting tool can make the petals without a fine brush. Short, round nails help the daisy stay in proportion and easy to see.
How to Apply
- Apply a base coat, then two thin coats of sheer nude or pale pink polish and let them dry.
- On an accent nail, dot five small white petals in a circle using a dotting tool.
- Add a tiny yellow dot in the center and let the flower dry.
- Seal with a clear top coat, taking care not to smudge the petals.
9. Jelly Bean Nails
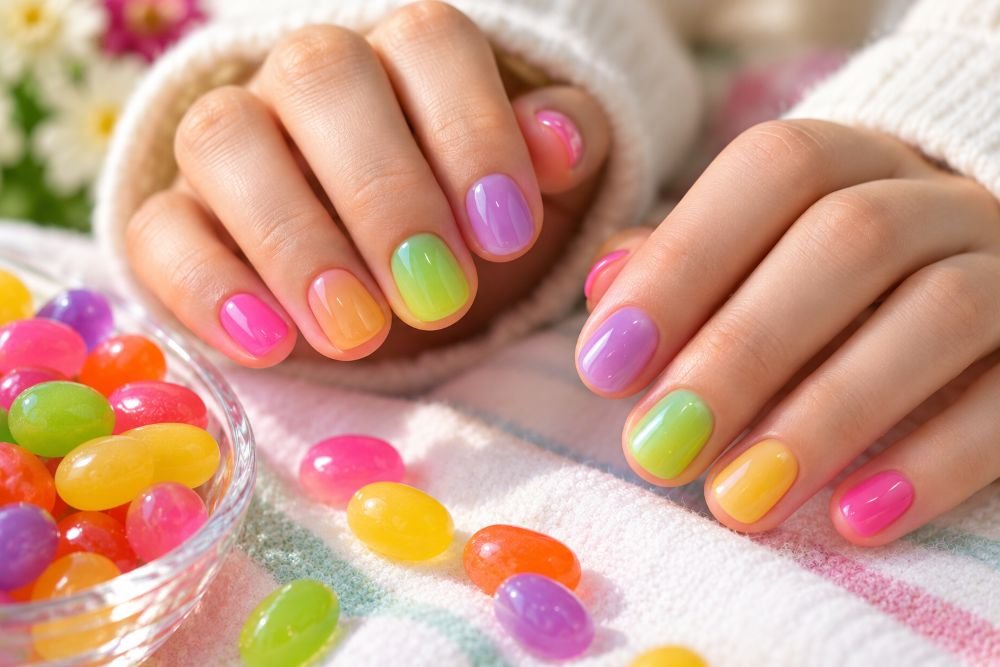
Bright, glossy jelly colors give this set a candy look, with each nail in a different clear toned shade like pink, orange, yellow, green, and purple. The polish looks slightly see through, like a jelly bean, rather than thick and opaque, and the shine makes the colors look juicy in daylight. No art is needed, so the color mix itself feels festive.
Jelly bean nails are a good match for Easter baskets and colorful spring clothes. They are also easy to redo, since a single nail can be repainted without ruining a pattern. Keep the nails short and rounded, and use thin coats so the jelly effect stays light instead of streaky.
How to Apply
- Apply a base coat, then paint each nail a different jelly toned polish.
- Use two thin coats, letting the first coat dry before the second.
- Check for streaks in daylight and add a third thin coat only if needed.
- Seal with a clear top coat for a candy shine.
10. Fluffy Bunny Tail Nails
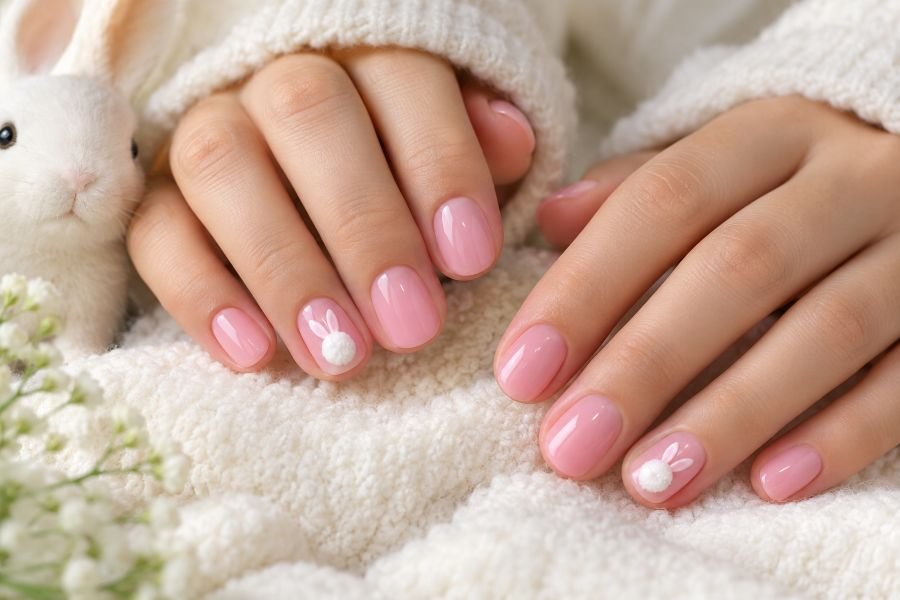
Soft pink or white nails form a quiet base, while one accent nail carries a small, fluffy white tail near the tip. The tail can be a tiny white pom, a fuzzy sticker, or a cluster of small white dots that looks soft from a distance. The rest of the nails stay plain, so the texture stands out as a fun surprise.
This design is best for a short event, such as an Easter photo or party, because a raised tail can catch on clothes during rough play. It suits a child who likes cute details but does not want art on every nail. Keep the tail very small and near the tip so it does not feel heavy.
How to Apply
- Apply a base coat, then two thin coats of soft pink or white polish and let them dry.
- Place a tiny white pom or fuzzy sticker near the tip of one accent nail.
- Press it gently into a dot of clear polish so it stays in place.
- Do not cover the fluffy tail with top coat; seal only the plain nails if needed.
11. Mint and Peach Striped Egg Nails
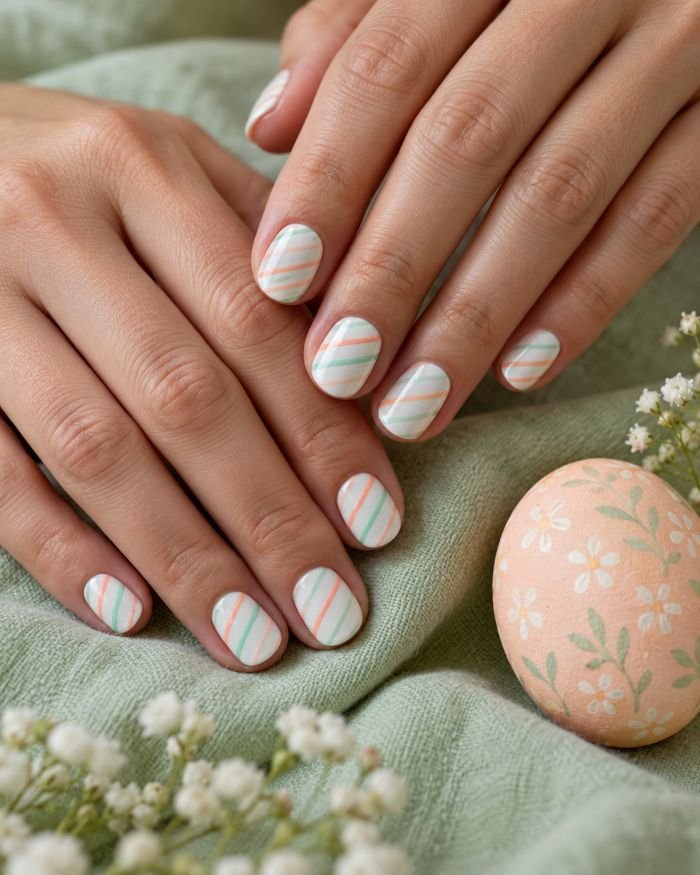
Mint and peach stripes run across a white or pale base, like lines painted on a decorated egg. The stripes are thin and uneven in width, with a little space between them, so the design looks hand painted rather than printed. A glossy finish keeps the mint fresh and the peach warm, and the contrast stays soft.
Stripes suit a child who likes patterns but not characters, and they work well with mint or peach spring clothes. The design is easier with tape guides or a thin striping brush, and small mistakes blend in because the stripes are meant to look playful. Short, oval nails give the stripes enough length to show.
How to Apply
- Apply a base coat, then two thin coats of white polish and let them dry.
- Use a thin brush to paint alternating mint and peach stripes across each nail.
- Keep the stripes thin and leave a little white space between them.
- Seal with a clear top coat once the stripes are fully dry.
12. Sugar-Coated Peep Pink Nails

Bright pink nails with a fine sugar sparkle give this design a marshmallow chick feel, without needing a chick face. The pink is warm and light, and the sparkle sits evenly over the nail, like sugar on a candy. A glossy top coat locks the sparkle in and keeps the pink looking sweet in photos.
This is a good choice for a child who loves pink and glitter but wants a quick set. It works for Easter baskets, pink dresses, and parties, and it needs no small art. Short, round nails keep the sparkle comfortable, and a second coat of sparkle can be added only on accent nails if a full glitter set feels too much.
How to Apply
- Apply a base coat, then two thin coats of bright pink polish and let them dry.
- Paint one thin coat of fine pink or white sugar glitter polish over each nail.
- Let the glitter dry fully so it does not drag.
- Seal with a clear top coat to smooth the sparkle and add shine.
13. Lavender Tulip Nails

A pale lavender base sets a calm spring mood, while one accent nail shows a small tulip in pink or coral with a short green stem. The tulip is a simple cup shape with three rounded petals, placed near the tip so it stays clear on a short nail. The other nails stay plain lavender, which makes the flower feel special.
Lavender tulips suit a slightly older child who likes flowers and soft colors, and they pair well with purple or white spring outfits. The design is easier than a full garden scene because only one flower needs care. Short, oval nails give the stem a little length without making the tulip look squeezed.
How to Apply
- Apply a base coat, then two thin coats of pale lavender polish and let them dry.
- On an accent nail, paint a small cup shaped tulip in pink or coral near the tip.
- Add a short green stem below the flower and let it dry.
- Seal with a clear top coat, taking care not to smudge the stem.
14. Easter Grass French Tips
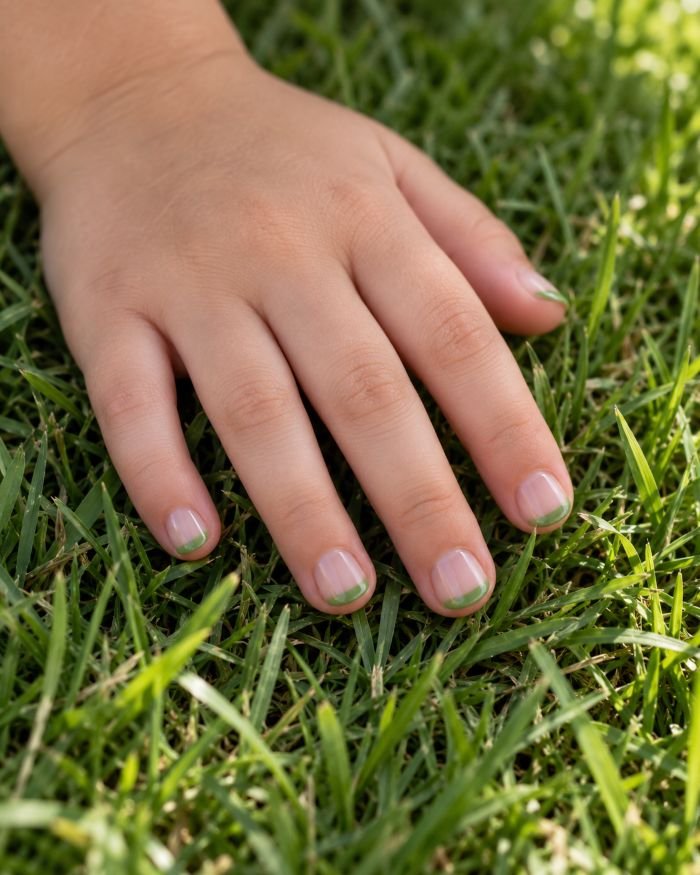
Green French tips replace the usual white tips in this spring design, with a sheer nude base underneath. The green is a soft grass shade, not a dark forest green, and the tips are kept short and even so they look like fresh grass at the edge of each nail. A glossy finish keeps the green bright and the base natural.
This design is a nice middle ground between a plain manicure and a character set. It suits green spring outfits and outdoor egg hunts, and it looks tidy even if the tips are not perfect. Short, square or oval nails both work, as long as the green tip stays thin.
How to Apply
- Apply a base coat and one coat of sheer nude polish, then let it dry.
- Paint short, even grass green tips using a thin brush or guides.
- Clean up the smile line with a small brush if needed and let the tips dry.
- Seal with a clear top coat for shine and protection.
15. Pastel Checkerboard Nails
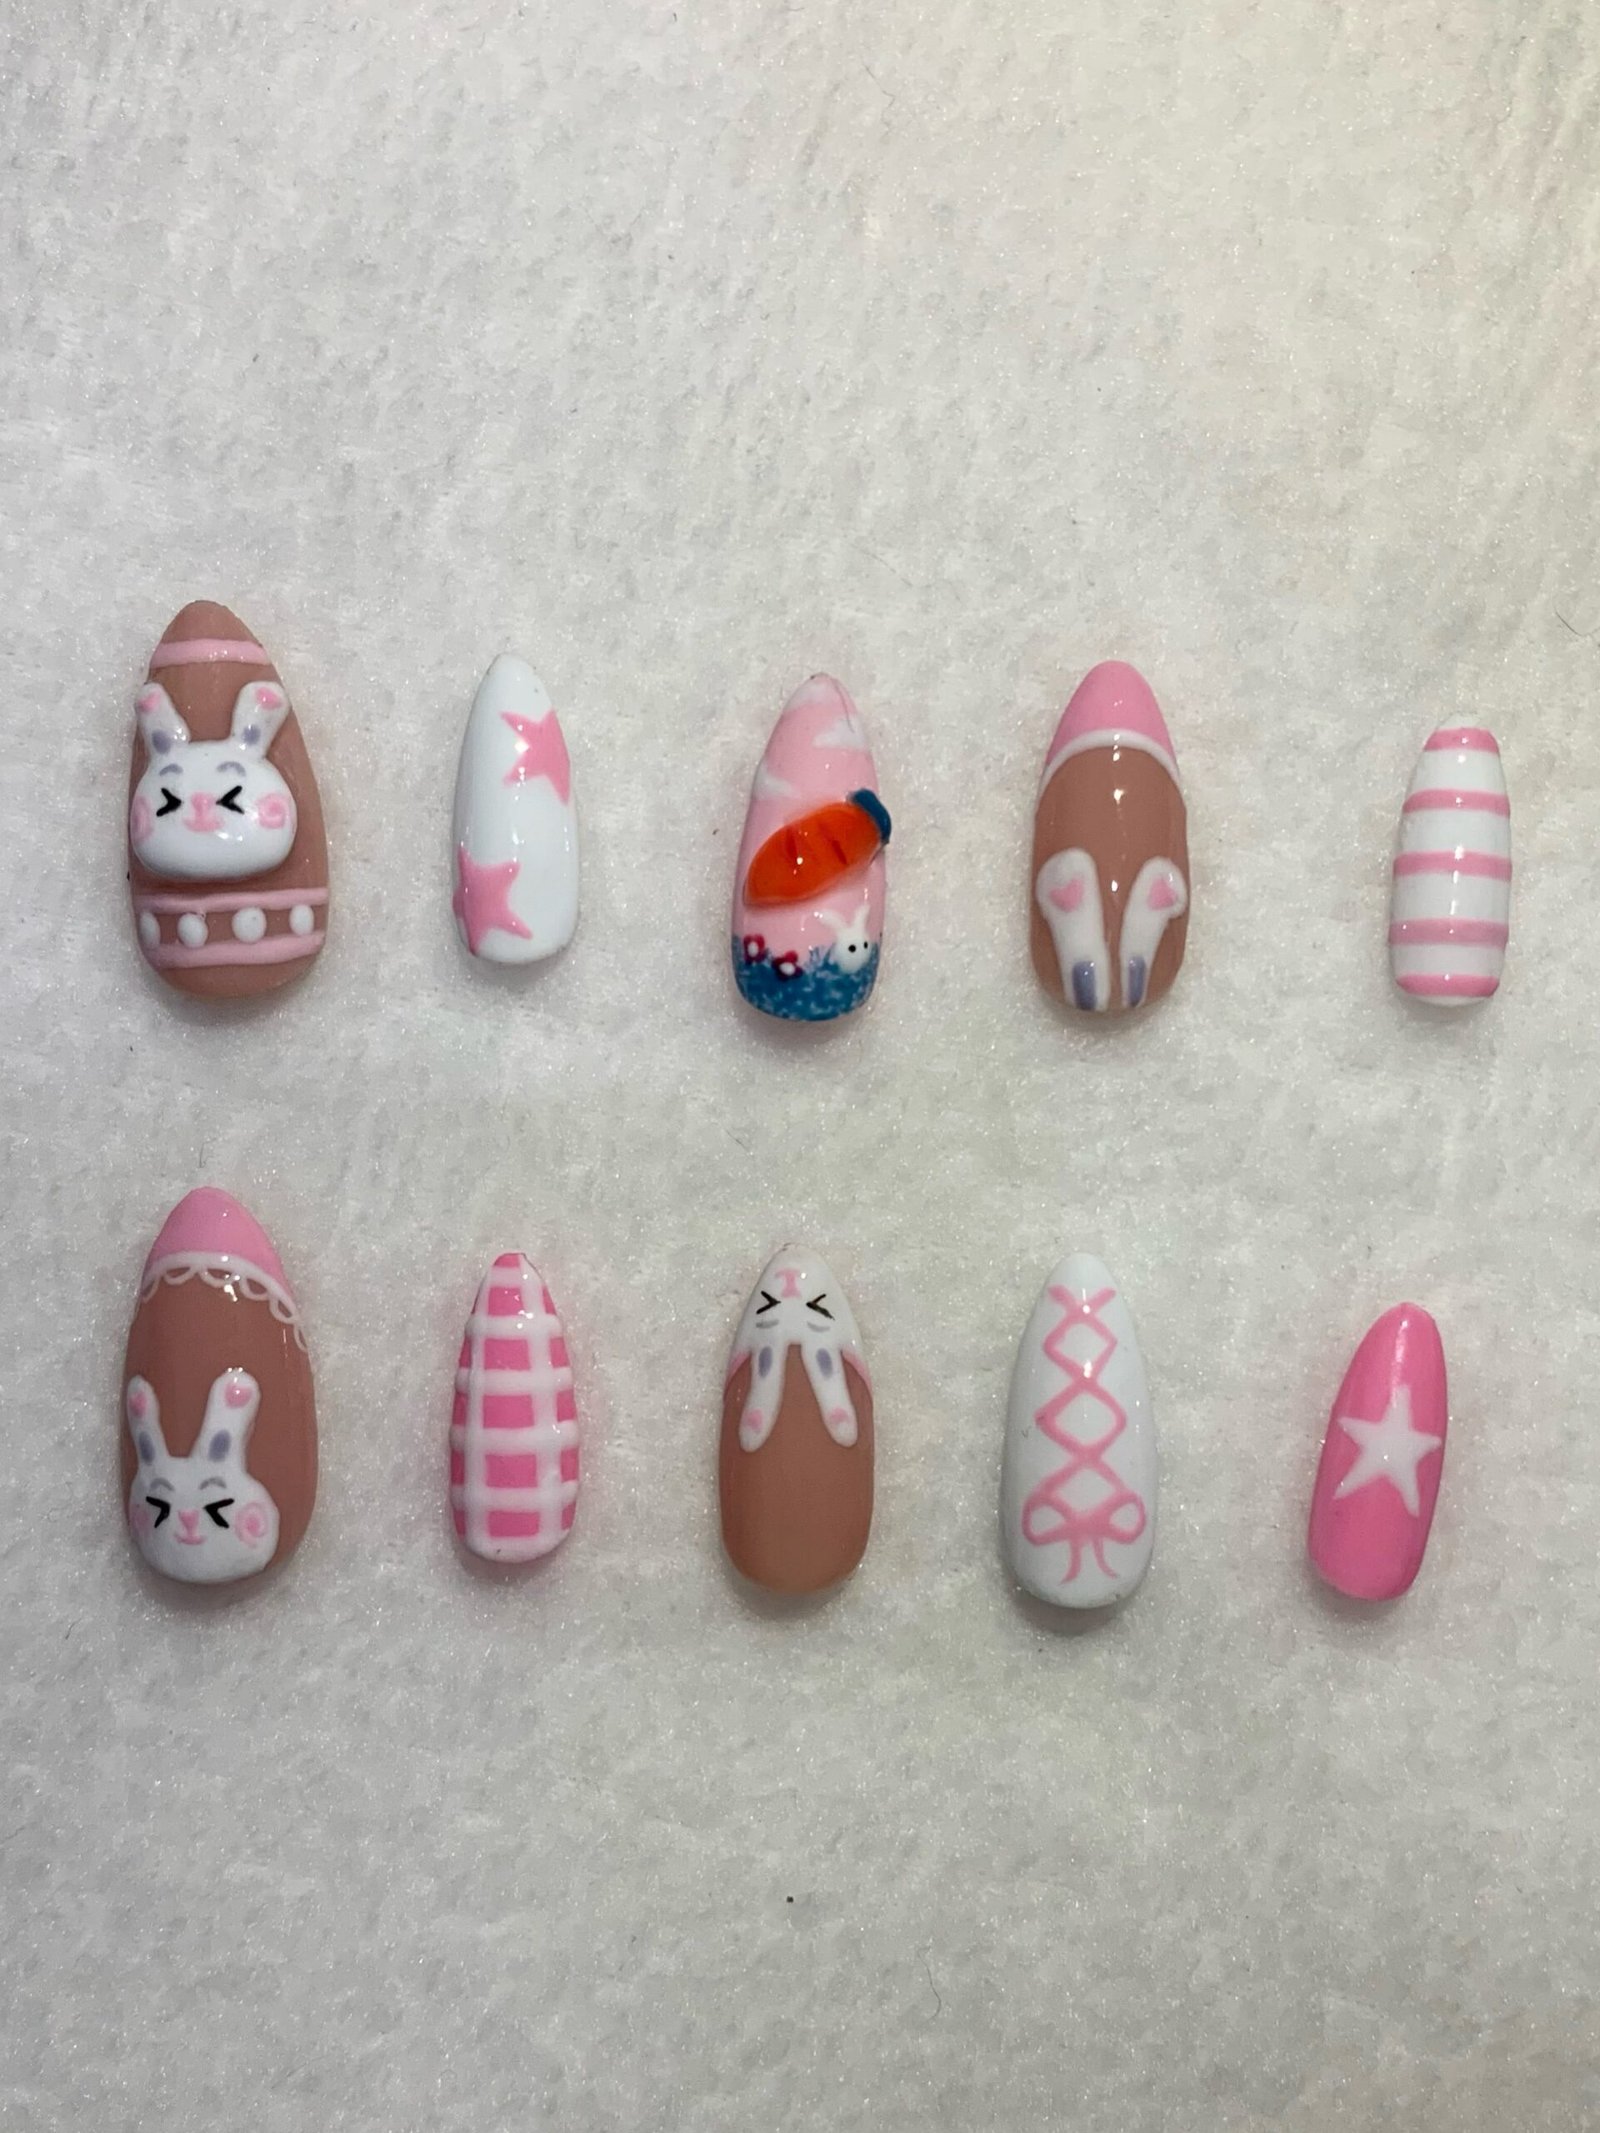
A white base carries a small pastel checkerboard on one or two accent nails, while the other nails stay in a single pastel shade. The checks use two soft colors, such as pink and mint, in small squares that meet neatly in the middle of the nail. The pattern looks playful, like a picnic cloth, but it stays light because the colors are pale.
Checkerboard nails suit a child who likes patterns and wants something different from dots or stripes. The design is easier with a thin brush and a steady hand, or with checkerboard stickers for a neat result. Short, square nails give the squares a clear shape, while round nails need smaller checks.
How to Apply
- Apply a base coat, then two thin coats of white polish on accent nails and a pastel on the others.
- Use a thin brush to paint small alternating pastel squares in a checker pattern on the accent nails.
- Let each color dry briefly before adding the next row to avoid smudging.
- Seal with a clear top coat once the pattern is fully dry.
16. Spring Butterfly Nails
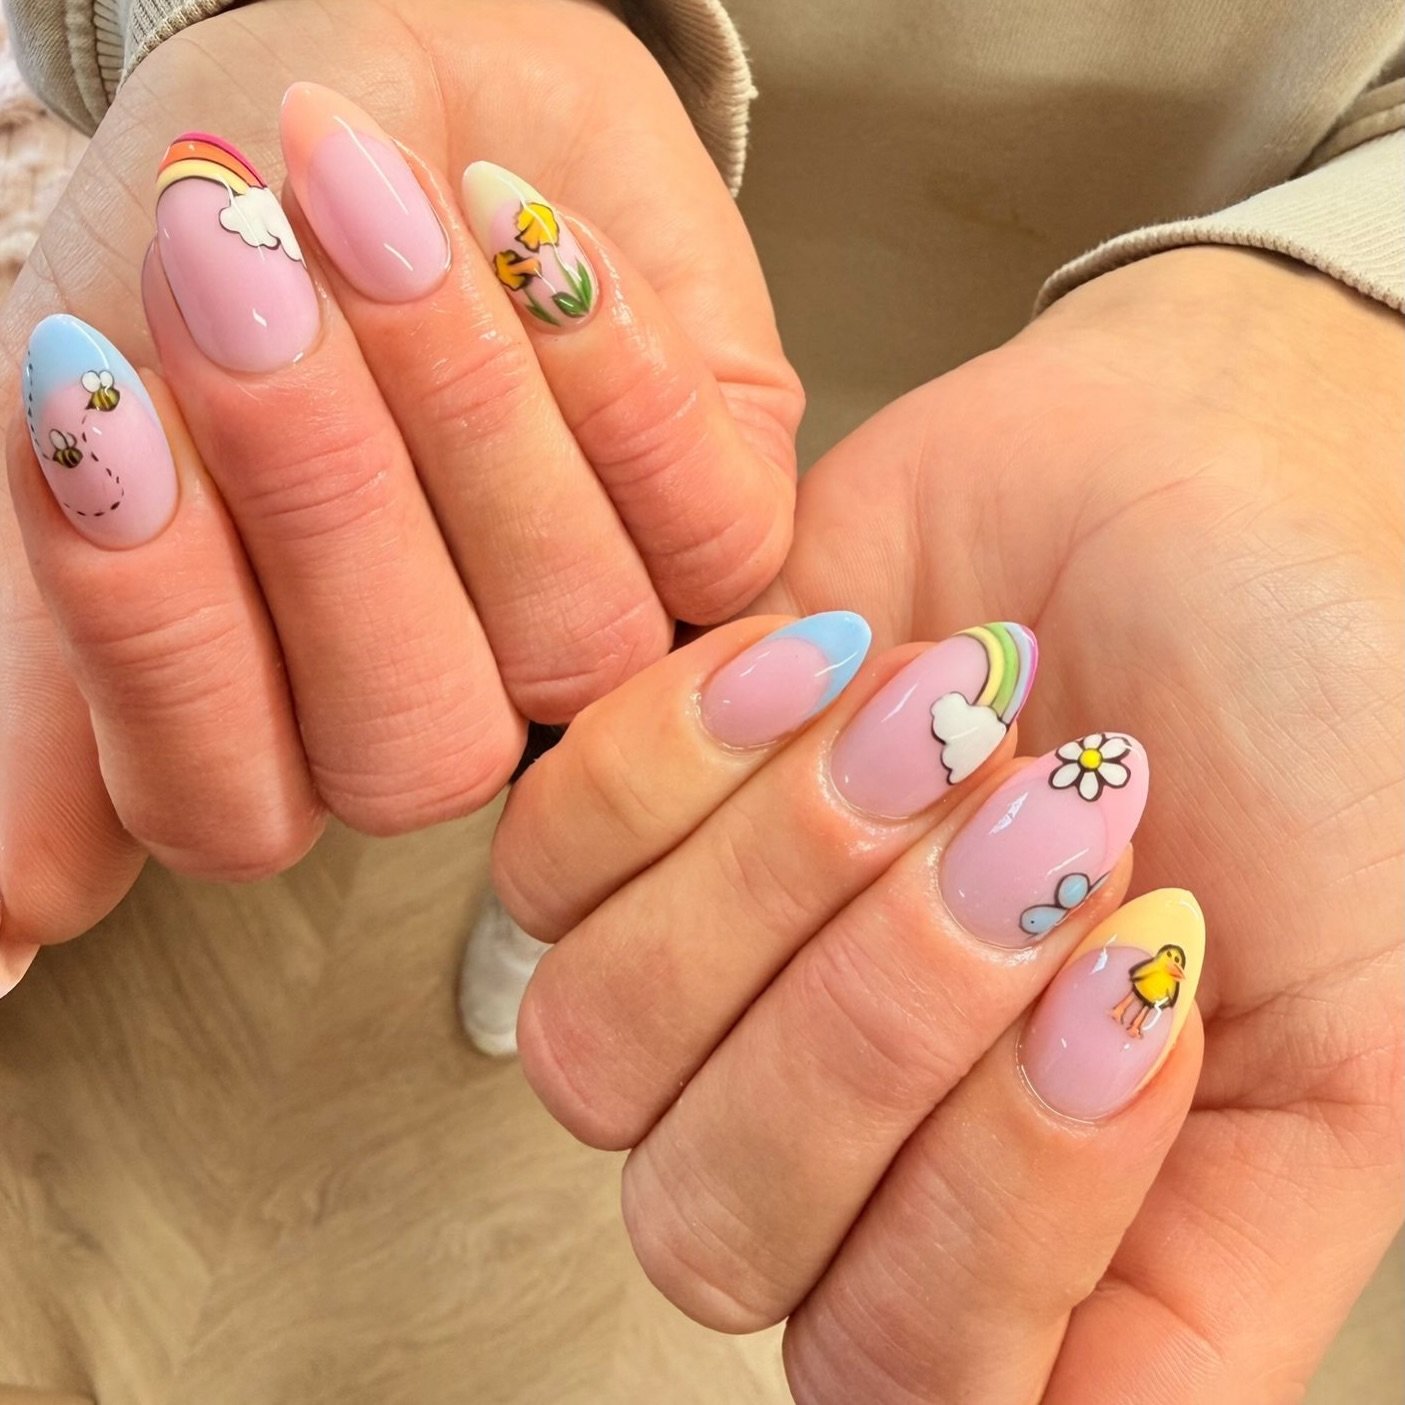
A pale blue or lilac base gives these nails a sky feel, while one accent nail carries a small butterfly with two upper wings and two lower wings. The wings use pink and purple with a tiny dark body in the middle, and they sit near the tip so the butterfly looks like it just landed. The other nails stay plain, which keeps the butterfly easy to spot.
Butterflies suit spring parties and light dresses, and they also work as a bridge between Easter and general spring looks. A butterfly sticker makes this design much easier than freehand wings, especially on small nails. Short, round nails help the wings stay in proportion.
How to Apply
- Apply a base coat, then two thin coats of pale blue or lilac polish and let them dry.
- On an accent nail, place a small butterfly sticker near the tip, or paint two pairs of wings.
- Add a tiny dark dot body in the middle if painting by hand, then let it dry.
- Seal with a clear top coat, pressing gently over a sticker so it does not lift.
17. Pastel Glitter Egg Nails
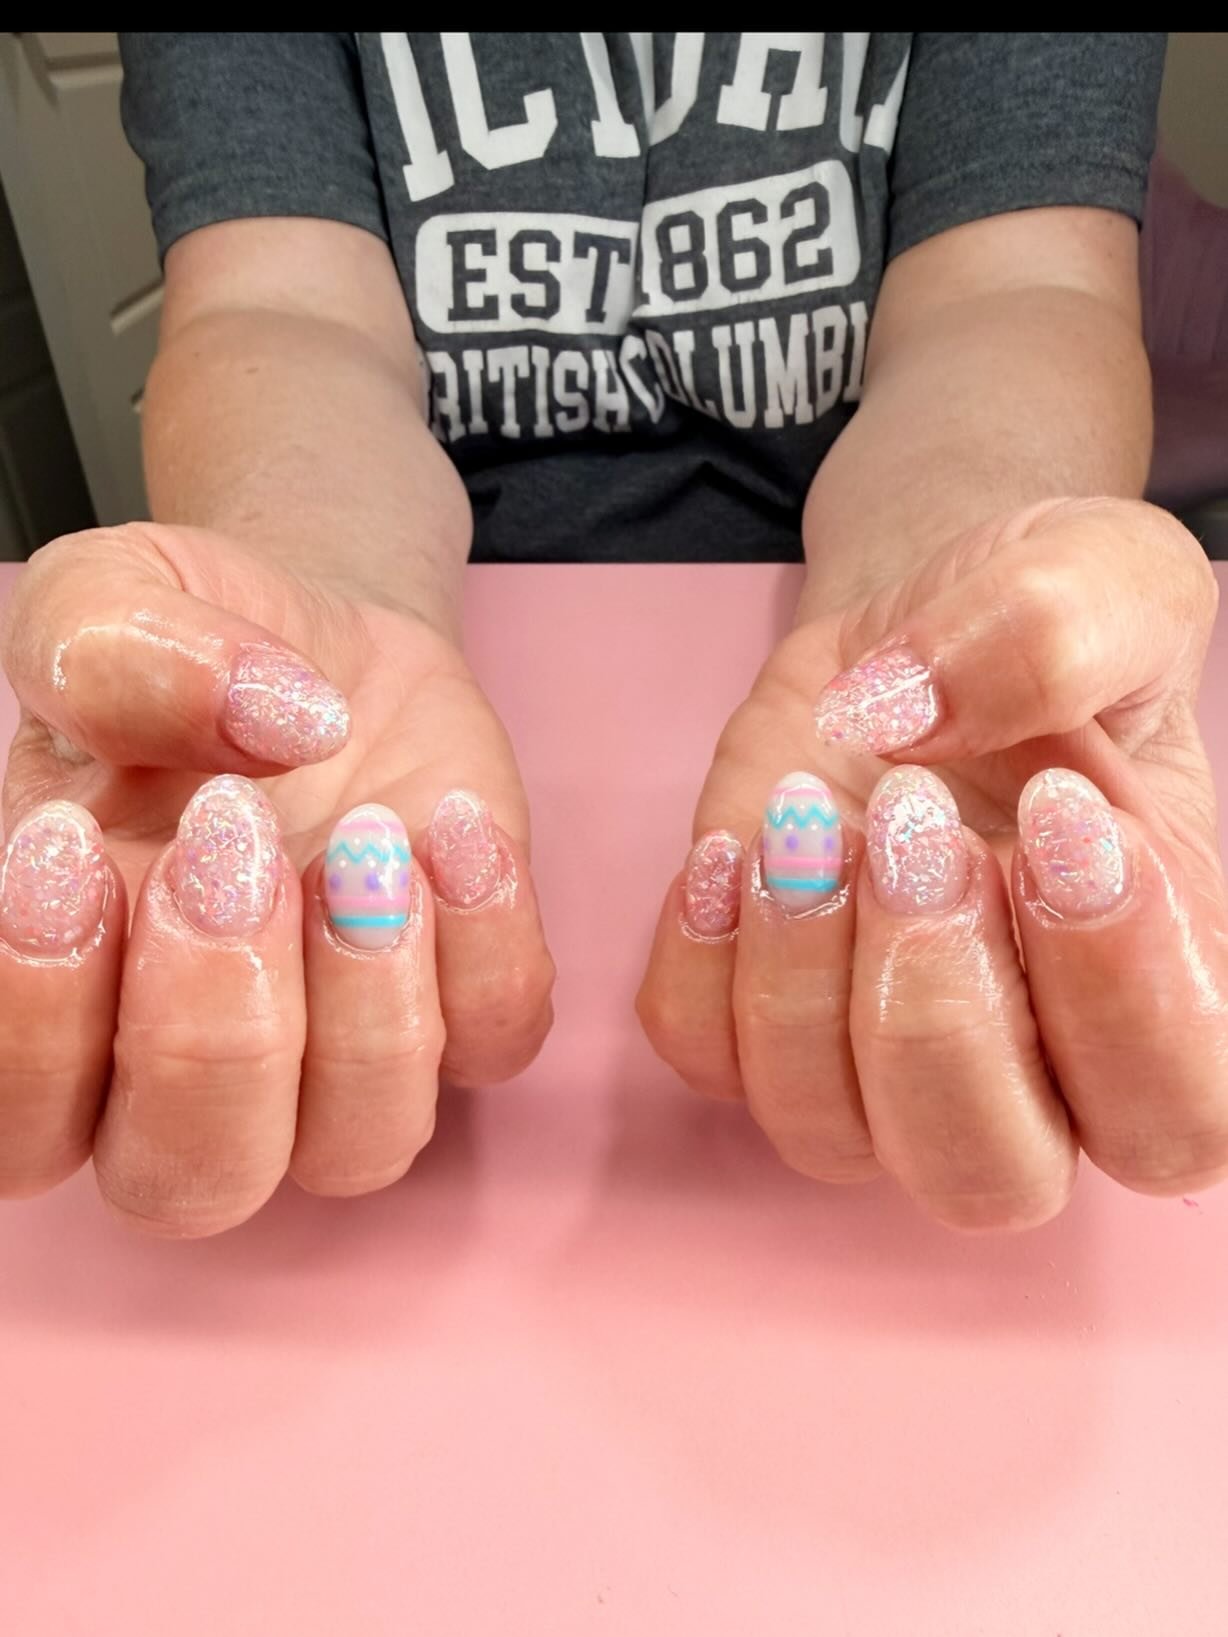
A soft pastel base, such as pink, mint, or lavender, is covered with fine glitter that looks like sugar on a decorated egg. The glitter is even and light, not chunky, so the pastel color still shows through and the nails do not feel rough. A clear top coat smooths the surface and adds a gentle shine.
Glitter egg nails are a good pick for parties and photos because they catch light without needing art. They also hide small polish mistakes well, which helps at home. Short, round nails keep the glitter comfortable, and a glitter top coat can be used only on accent nails for a quieter version.
How to Apply
- Apply a base coat, then two thin coats of a pastel polish and let them dry.
- Paint one thin coat of fine glitter polish evenly over each nail.
- Let the glitter dry fully before touching the nails.
- Seal with a clear top coat to smooth the glitter and add shine. For more sparkle ideas, you can also explore these glitter nails.
18. Blue Sky and White Cloud Nails
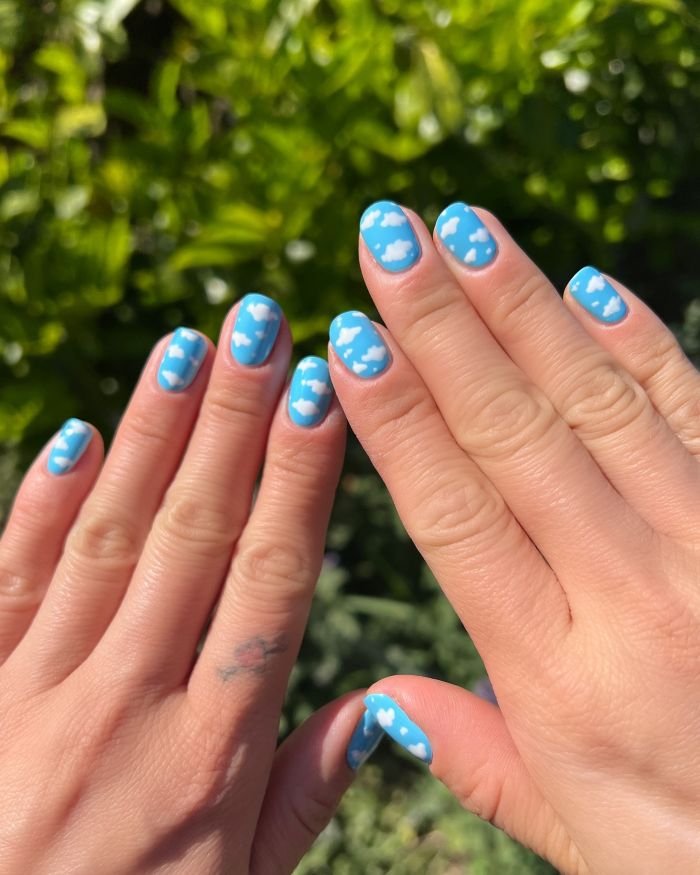
A soft sky blue base covers most nails, while one or two accent nails add small white clouds near the tip. The clouds are simple rounded shapes, not detailed weather art, and they sit lightly on the blue so the sky still reads as the main color. A glossy finish makes the blue look bright, like a clear spring day.
This design suits outdoor egg hunts and blue spring outfits, and it feels calm compared with busy character sets. It is also easy to adapt: add a tiny sun on one nail, or keep only clouds for a quiet look. Short, oval nails give the clouds a little room without crowding the sides.
How to Apply
- Apply a base coat, then two thin coats of soft sky blue polish and let them dry.
- On accent nails, dot three small white circles close together near the tip to form a cloud.
- Smooth the cloud shape gently with a dotting tool and let it dry.
- Seal with a clear top coat once the clouds are fully dry.
19. Pastel Rainbow Gradient Nails
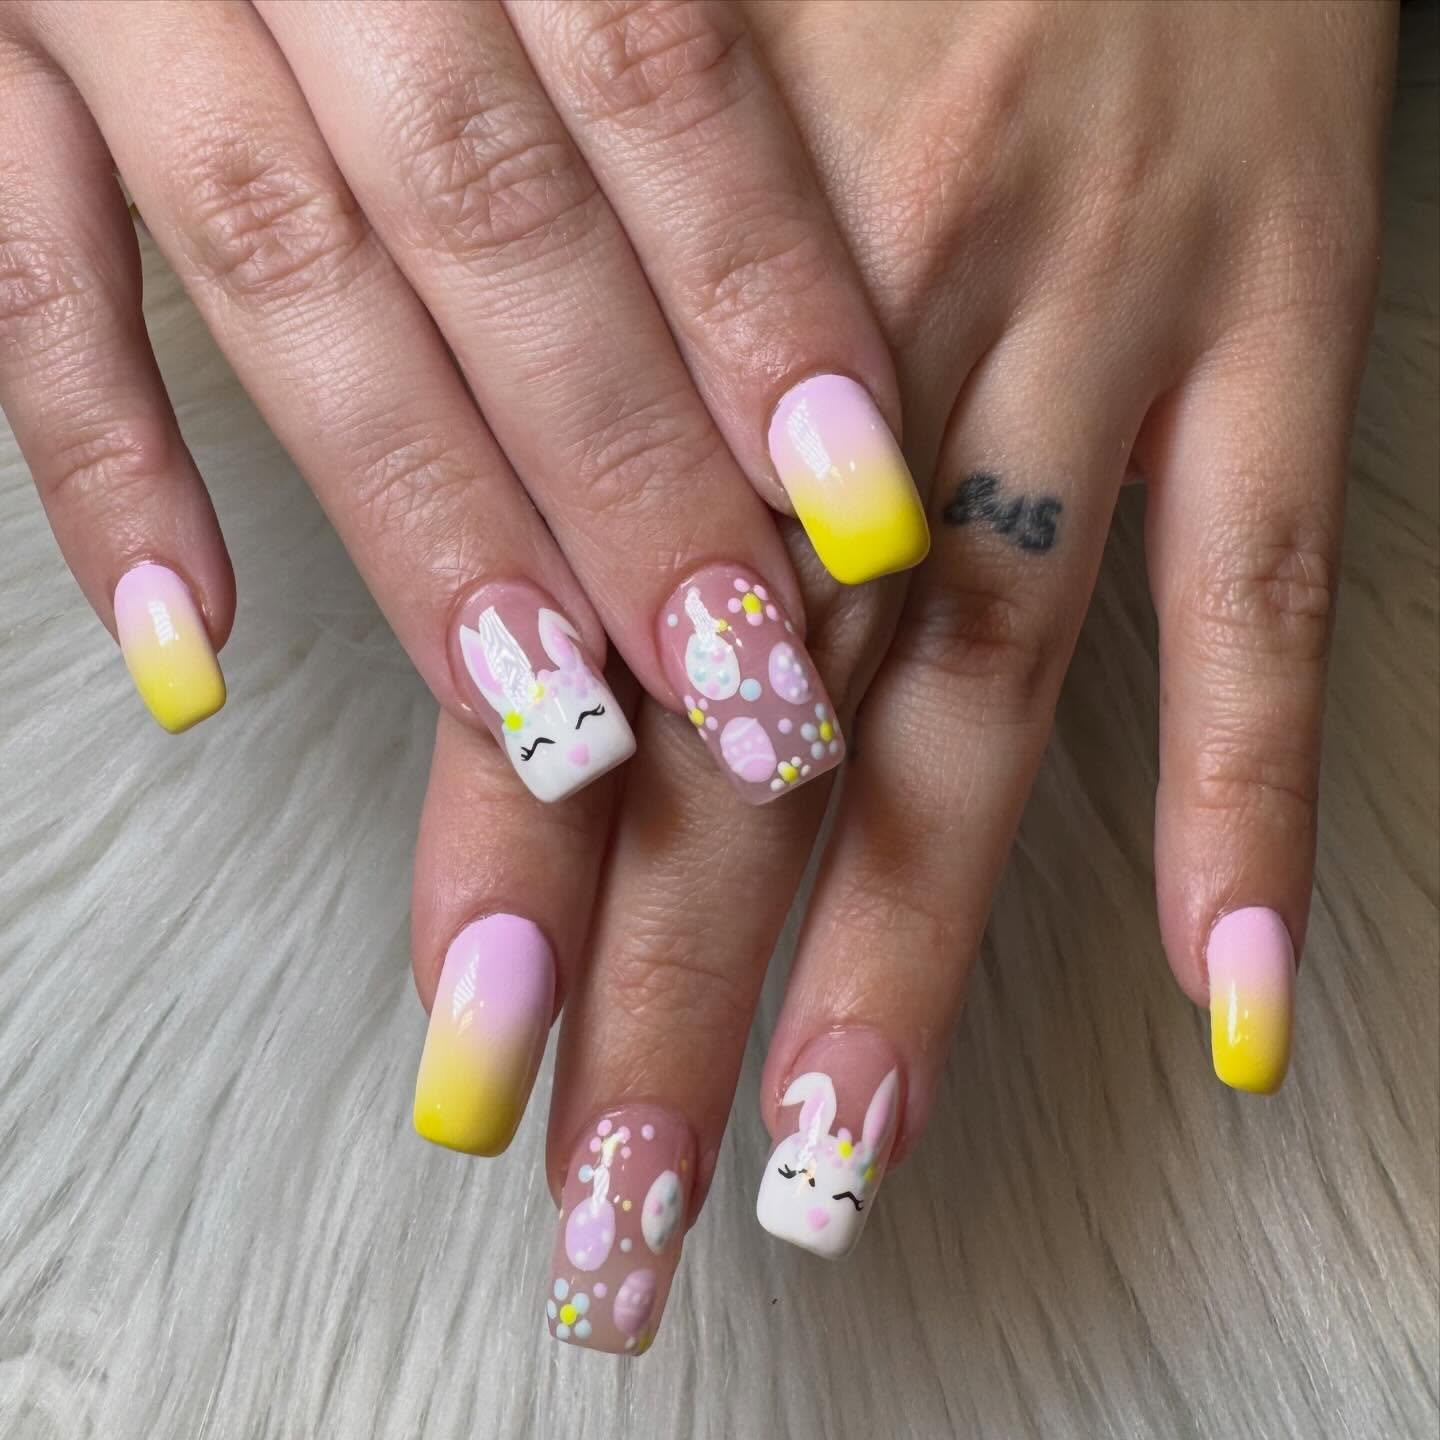
A sponge gradient blends three pastels, such as pink, mint, and lilac, from the cuticle to the tip on each nail. The colors meet softly in the middle, with no hard lines, so the nail looks like a watercolor rainbow. A glossy top coat smooths the sponge texture and makes the gradient look clean.
Gradient nails suit a child who loves color but does not want a single shade or a character. They work well with rainbow spring clothes and Easter baskets, and they look different on each nail because the sponge blend varies slightly. Short, round nails are best, since a long gradient can look streaky if the sponge is pressed too hard.
How to Apply
- Apply a base coat and one coat of white polish to help the pastels show, then let it dry.
- Dab pink, mint, and lilac polish in stripes on a makeup sponge.
- Press the sponge gently onto each nail, repeating lightly until the gradient looks soft.
- Clean up around the nails, let the gradient dry, then seal with a clear top coat.
20. Hatching Chick Accent Nails

A pale yellow or white base sets the scene, while one accent nail shows a chick breaking out of a cracked eggshell. The shell is a white zigzag shape near the tip, and a small yellow chick face with black dot eyes peeks out below it. The other nails stay plain, so the hatching moment stays the focus.
This design is a fun story in one nail, and it suits Easter Sunday photos and egg hunt outfits. It is best for a child who can sit for one detailed accent, while the rest of the set stays simple. A chick sticker placed over a painted shell can make the same idea much easier at home.
How to Apply
- Apply a base coat, then two thin coats of pale yellow or white polish and let them dry.
- On an accent nail, paint a white zigzag shell shape near the tip.
- Add a small yellow chick face below the shell with black dot eyes and a tiny orange beak.
- Seal with a clear top coat once the shell and chick are fully dry.
Simple Easter Nails for Kids at Home
Start with short, clean nails and only three or four polishes, so the session stays short and calm. A dotting tool, a toothpick, and a thin brush cover most of the designs in this list, and stickers or press-ons can replace any freehand step that feels hard. Work one nail at a time, let each layer dry, and keep one accent nail as the focus instead of decorating every nail in detail. This approach keeps Easter nails for kids simple, fun, and easy to fix if a dot goes astray.
What Polish and Tools Are Safe for Kids’ Nails?
Choose polishes and removers made for kids when you can, follow the label, and keep sessions short with an adult nearby. Short, natural nails are safer than extensions, and adhesive tabs are gentler than strong glue for press-ons, especially for younger children. Skip a design if the skin around a nail looks sore, and stop right away if a product causes stinging or redness. A soft file, a gentle base coat, and a clear top coat are usually enough, and you do not need salon tools to get a neat result at home.
How to Make Kids’ Easter Nails Last (and Remove Them Gently)
Thin coats last better than one thick coat, so paint two light layers and let each one dry fully before the next. A clear top coat helps seal dots and small art, and it is worth reapplying a thin top coat after a day or two if the tips start to wear. For removal, soak polish gently and avoid picking or peeling, which can hurt the nail surface. If you used press-ons, this guide to removing press-on nails at home can help you take them off gently with warm, soapy water and care.
Final Thoughts
If you are choosing just one look, start with the pastel skittle set for an easy win, then add a bunny or chick accent when you feel ready for a little art. The best Easter design is the one your child will enjoy wearing, not the most detailed one, so let comfort, short nails, and simple tools guide the choice.
Ready to make Easter a little more colorful? From tiny bunny faces and cheerful chicks to pastel eggs, daisies, and playful polka dots, find a nail design your child will love. Save your favorite and preview how it looks on your hands before creating the look together at home.
Use Virtual Nails Try-On

Bloomie
Bloomie (I) is the founder and author of Nail Blooms, a nail inspiration website dedicated to manicure ideas, nail art, colors, shapes, and emerging beauty trends. My interest in nails began with a simple habit of collecting beautiful manicure ideas and exploring different styles, from timeless nude shades and French tips to creative nail art and seasonal looks. What started as a personal interest gradually grew into Nail Blooms, a space created to make discovering nail inspiration easier and more enjoyable. At Nail Blooms, My goal is to help readers give new ideas, find different possibilities, and feel inspired when choosing their next manicure.
About the editor ↗