Nail Designs · The nail edit
29 Chocolate Brown Nails You’ll Want This Season
Chocolate brown nails can look quite different depending on color depth, coverage and finish. A sheer cocoa tint leaves the natural nail visible, an opaque...
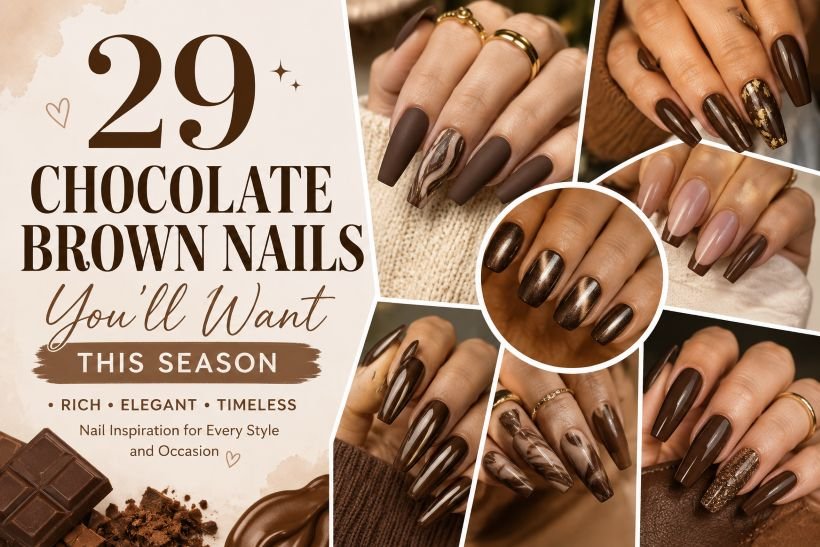
Chocolate brown nails can look quite different depending on color depth, coverage and finish. A sheer cocoa tint leaves the natural nail visible, an opaque espresso makes a darker block of color, and a reflective finish adds another layer of contrast. Decide which of those features matters most before choosing a reference.
These 29 chocolate brown nail ideas compare shades, French layouts, gradients and decorative finishes. Some names overlap, so the notes point out when two references belong to the same design family. Use the collection to choose a specific color and layout for your next manicure.
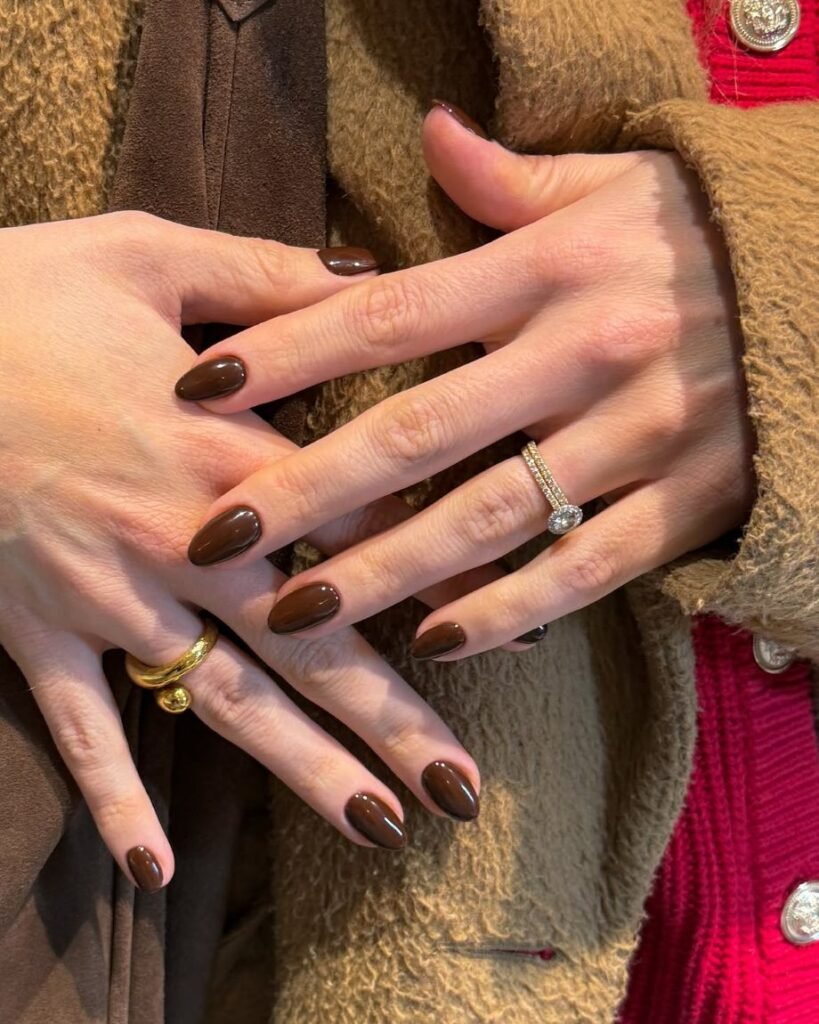
1. Glossy Chocolate Brown Nails
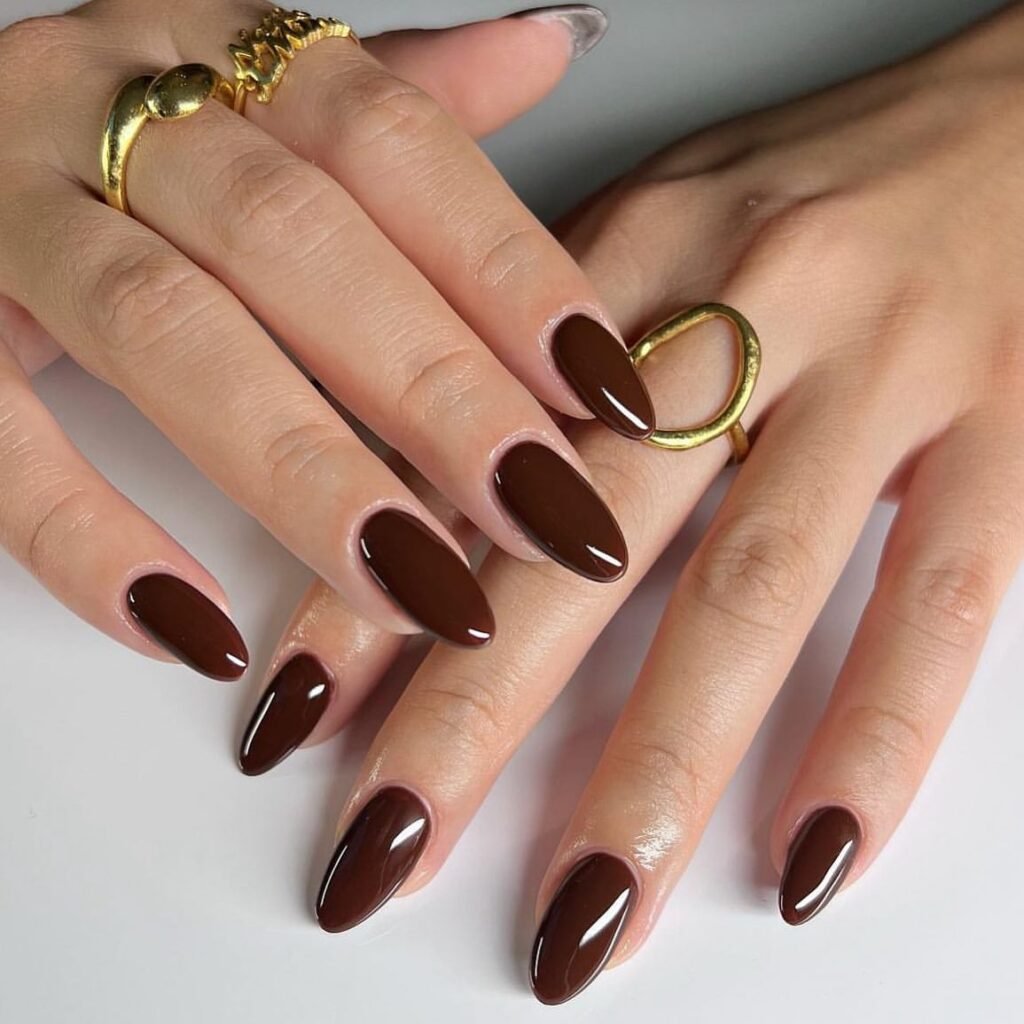
A solid glossy brown is a useful starting point when you want to judge the color without added artwork. Choose the depth first, then compare the same shade on your preferred nail shape. A small reflected highlight will emphasize the smooth surface; it does not require a metallic polish.
2. Dark Espresso Brown Nails
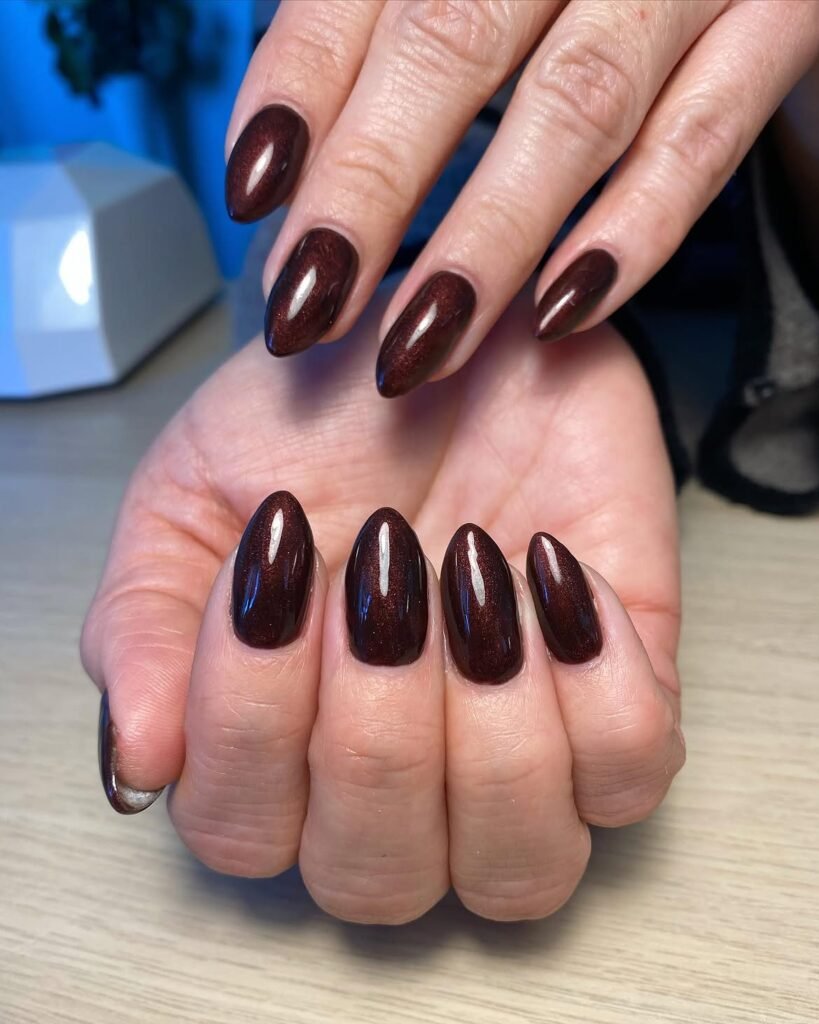
Espresso describes a very deep brown that can read almost black in dim light. Compare it beside a black swatch in daylight if keeping a visible brown tone matters to you. This is a color-depth variation of a solid brown manicure, not a separate nail-art technique.
Source: _nailsen
3. Milk Chocolate Brown Nails
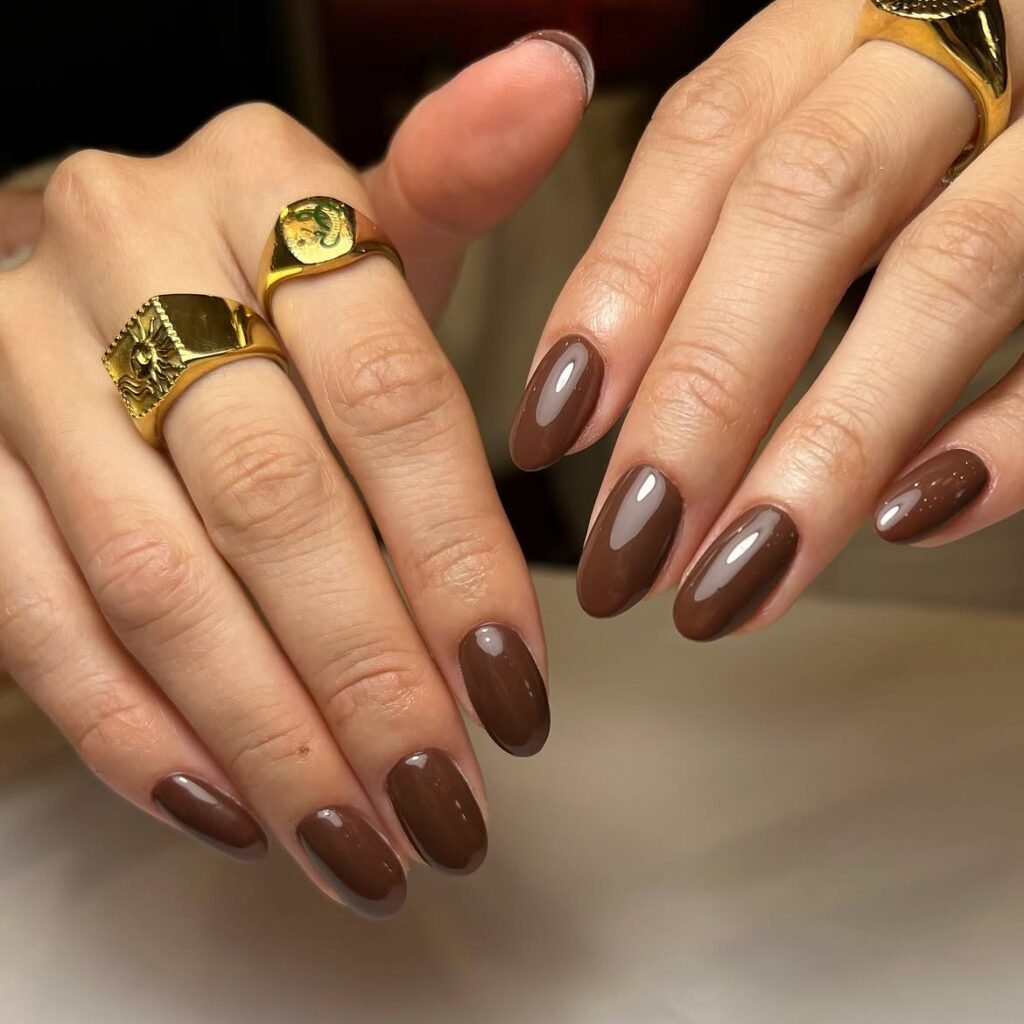
Milk chocolate suggests a lighter, creamier brown than espresso. Shade names vary between brands, so look for the actual balance of beige, red and yellow in a painted sample. Keep the finish the same when comparing it with mocha or latte.
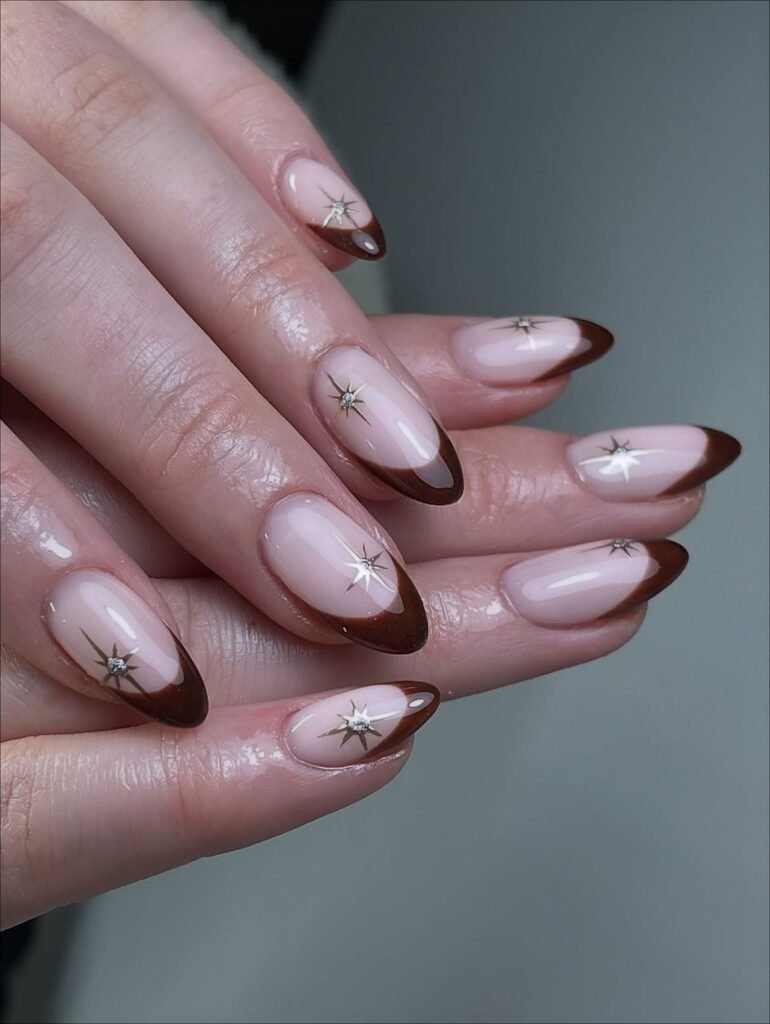
4. Chocolate Brown French Tip Nails
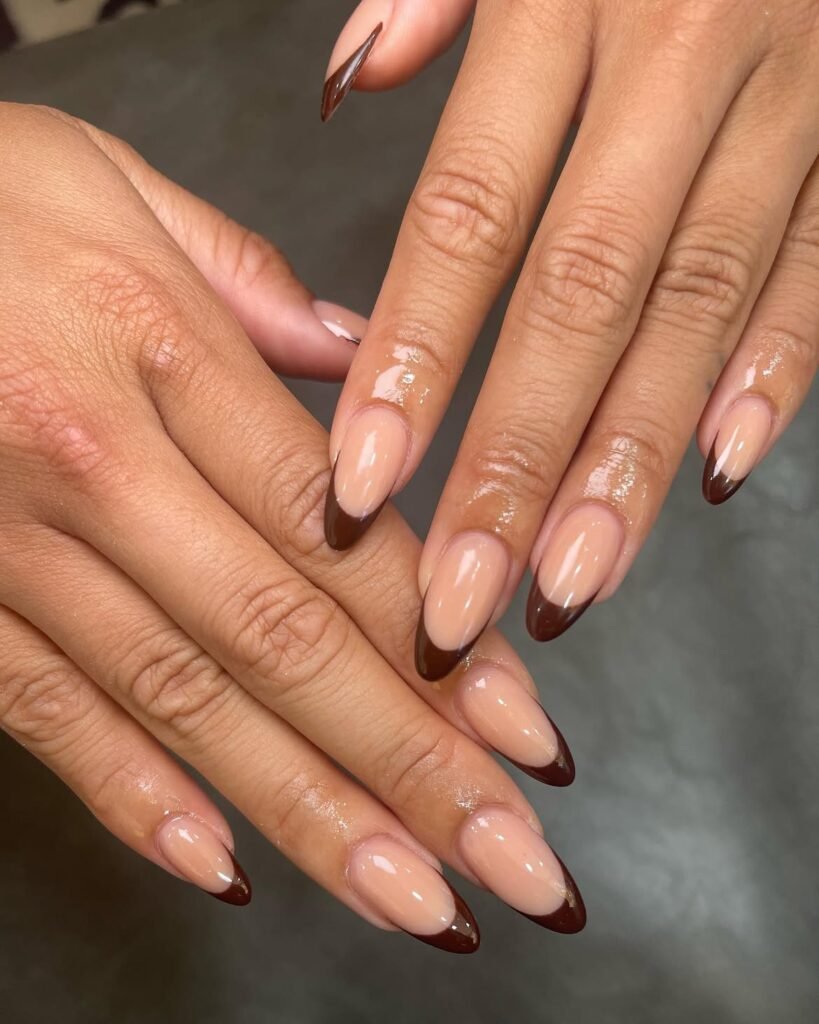
Brown French tips concentrate the color at the edge while leaving more of the base visible. Compare a nude or sheer pink base with the chosen brown, then specify a narrow or deeper tip. A thin edge is a useful adaptation when you want less dark coverage.
5. Mocha Brown Nails
Mocha sits within the broad family of coffee-toned neutrals rather than identifying a fixed polish shade. Compare a gray-brown sample with a warmer cocoa before choosing. If planning a holiday manicure, decide whether you want this plain color or an accent that introduces sparkle.
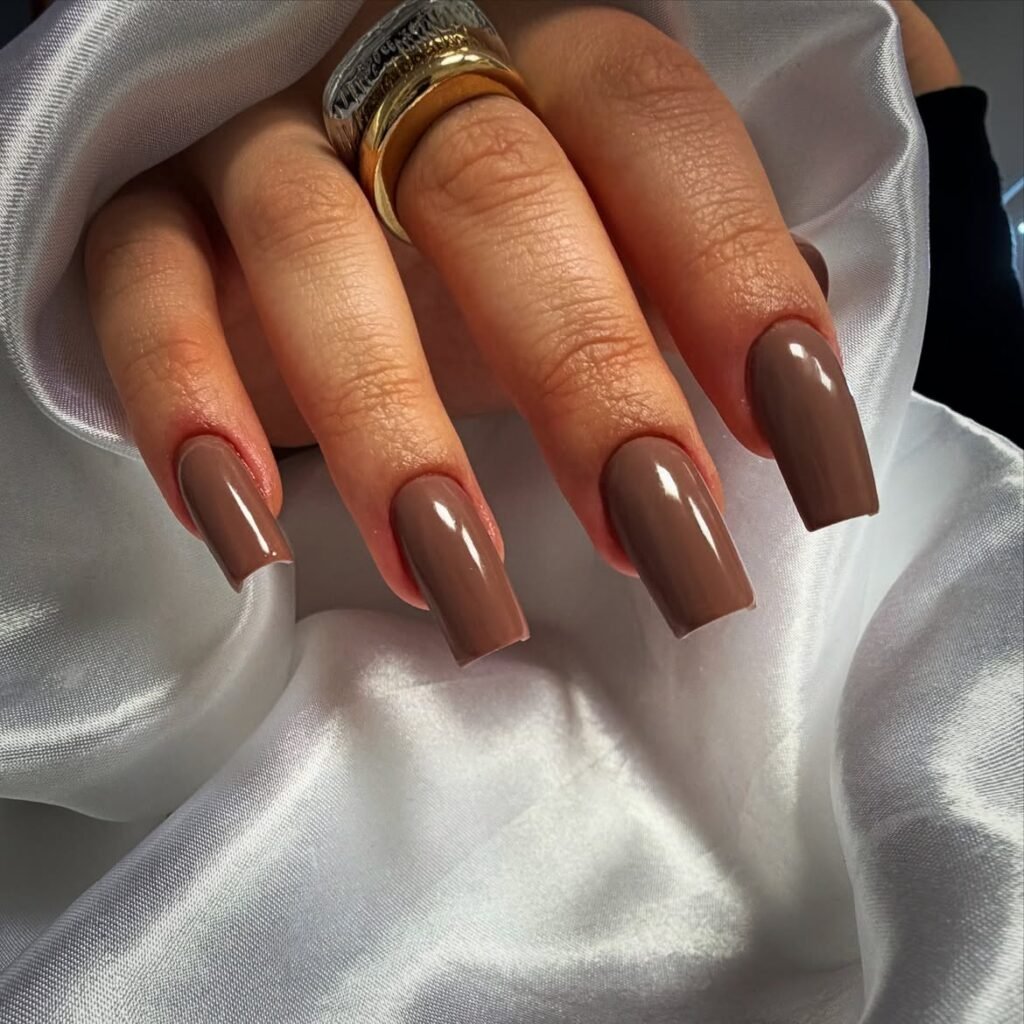
6. Chocolate Brown Ombre Nails
A brown ombré uses a gradual transition instead of a crisp boundary. Specify where the darker area should sit and how much of the nail the fade should cover. For a bridesmaid manicure, compare the finished sample with the agreed palette rather than relying on a shade name.
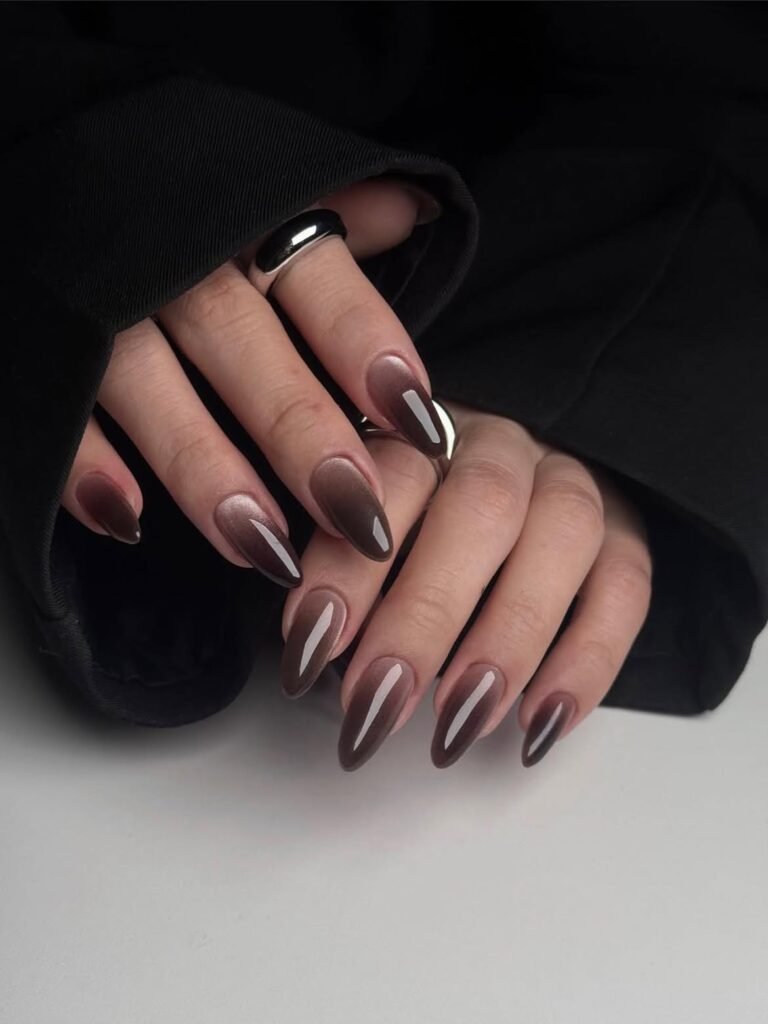
7. Matte Chocolate Brown Nails
Matte brown removes the bright surface reflection of a glossy finish. Compare both finishes on the same color before committing; they can give the same brown a different visual weight. Matte describes low surface shine, while the velvet styles below describe a shifting shimmer.
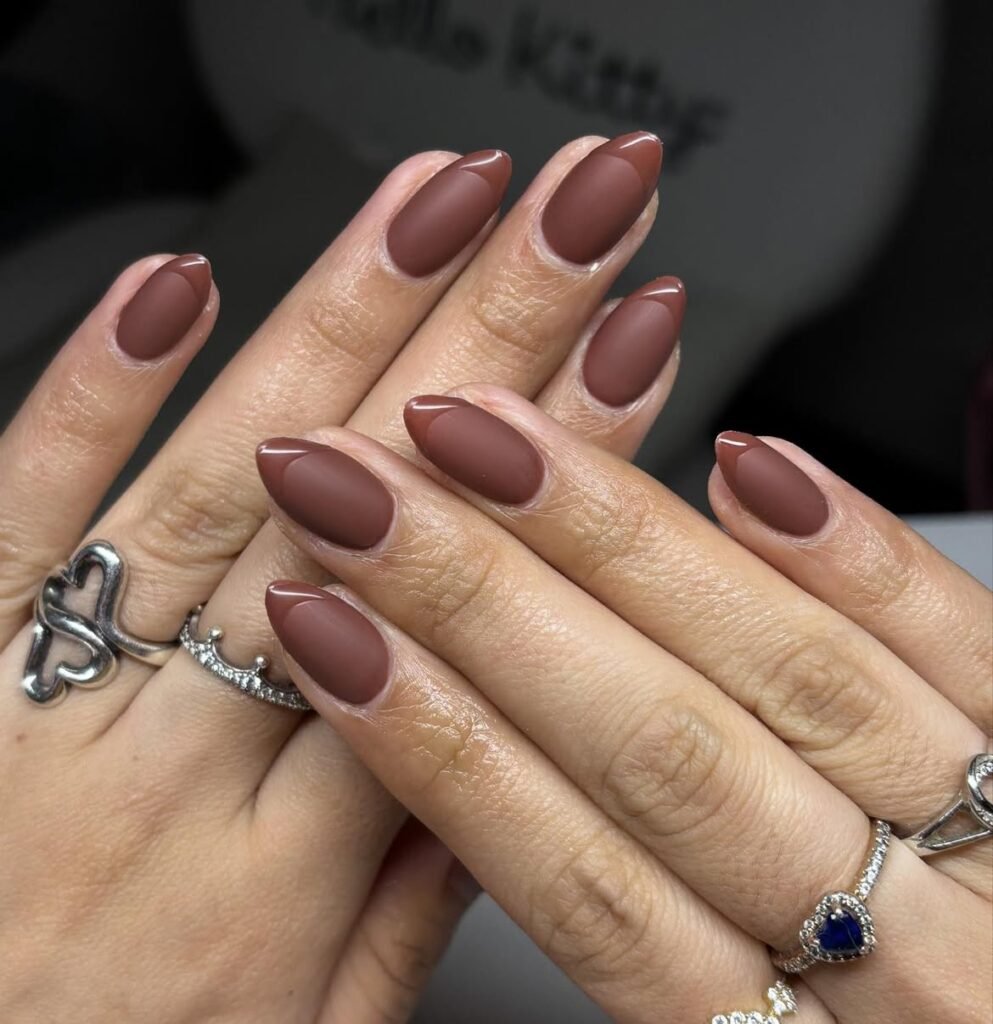
8. Chocolate Brown Chrome Nails
A chrome finish adds a reflective layer to the brown palette. Ask to see the complete base-and-finish combination, because the reflection may dominate the underlying color. Choose whether you want a soft metallic glow or a stronger mirror-like effect.
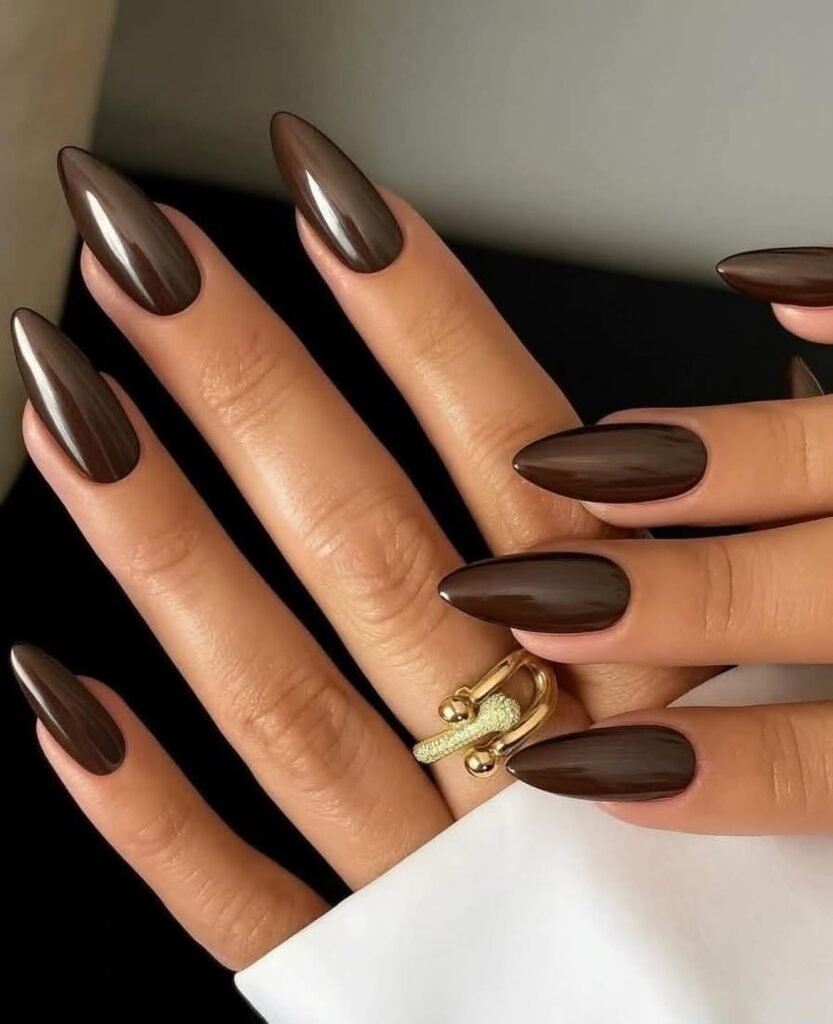
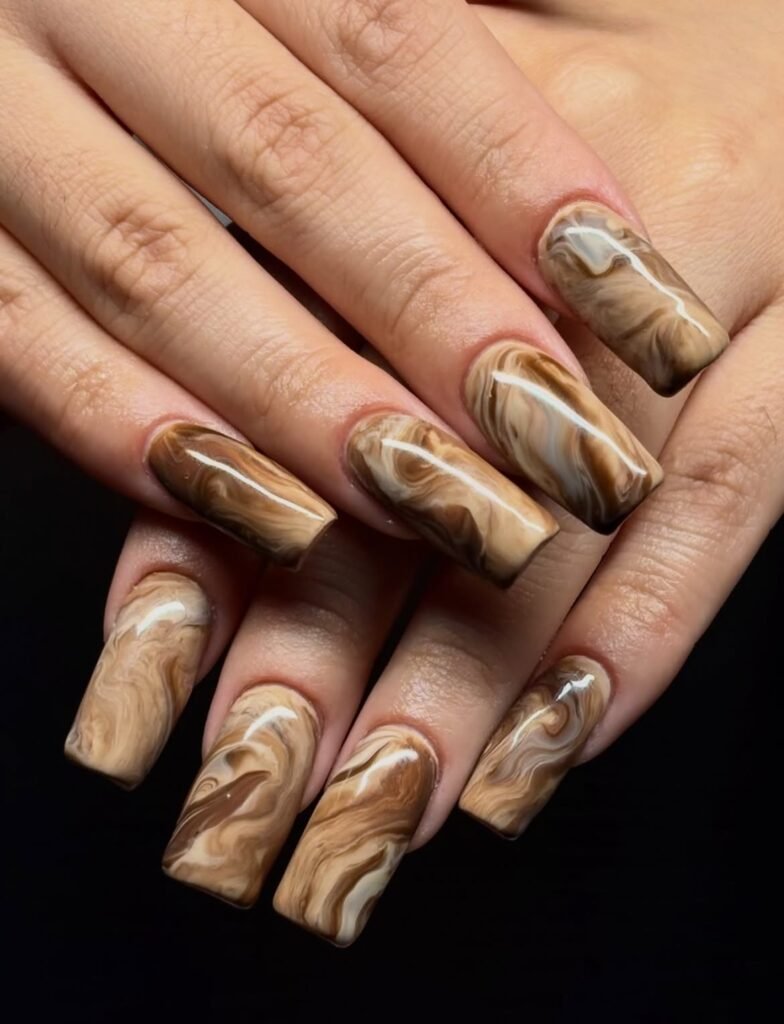
9. Chocolate Marble Nails
Chocolate marble uses irregular brown and cream areas rather than evenly spaced stripes. Leave some quiet background between the lighter veins so the pattern remains readable. One marble accent beside solid brown nails is a simpler way to use the idea.
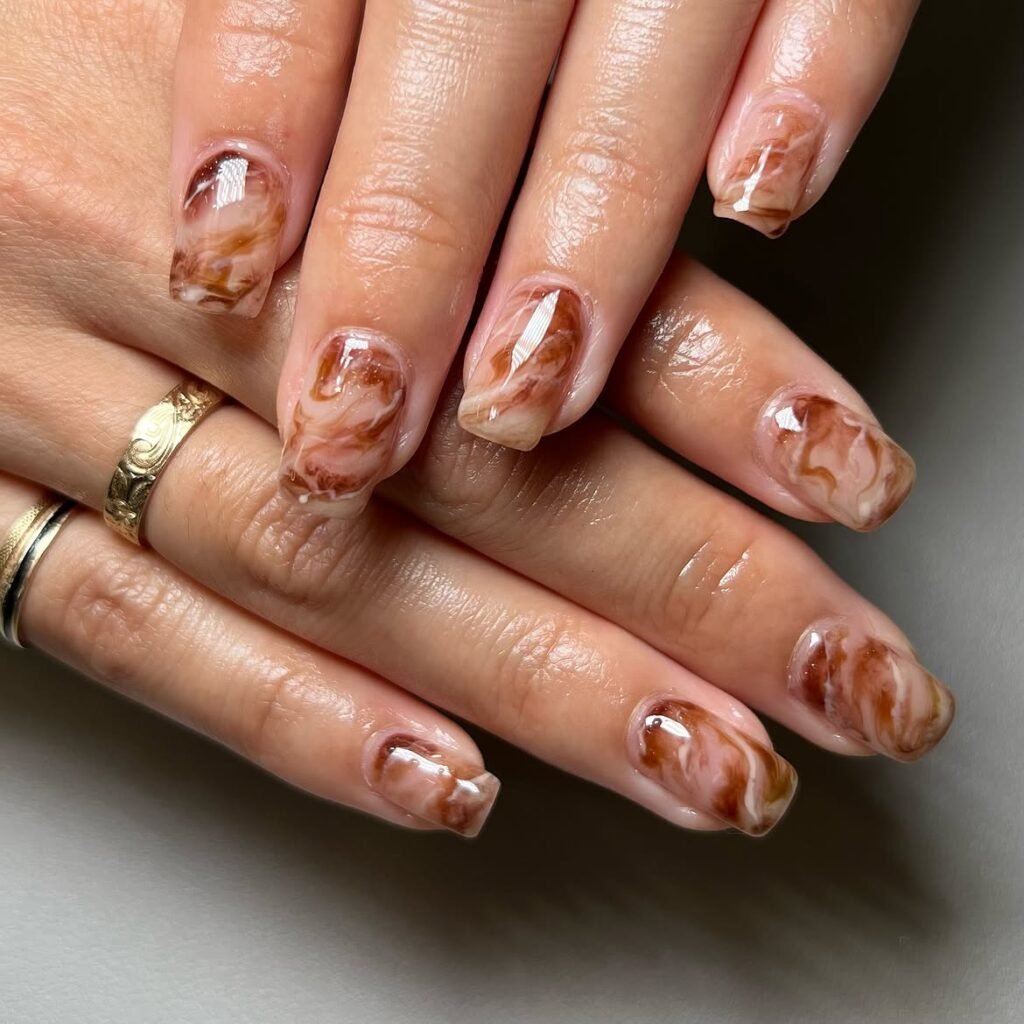
10. Cocoa Nude Nails
Cocoa nude is relative to the wearer: the same brown may blend with one hand and contrast with another. Compare the sample against your own skin and decide which effect you prefer. Opacity matters too, so distinguish a sheer brown tint from full cream coverage.
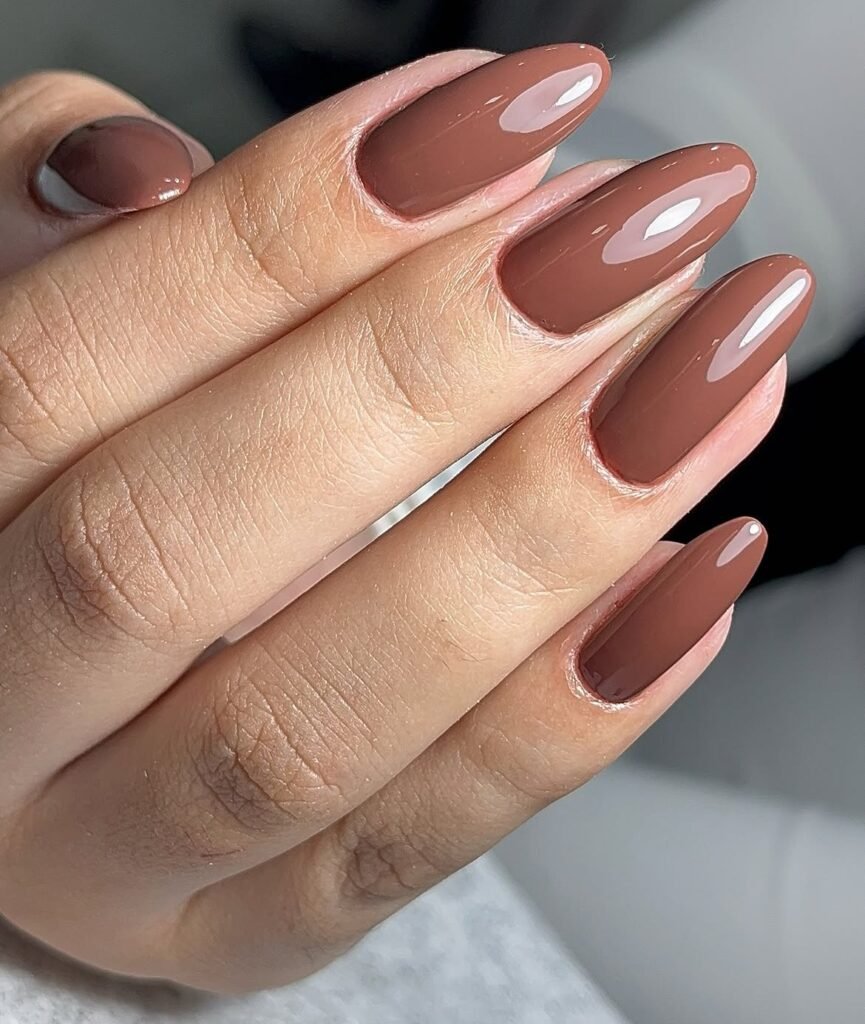
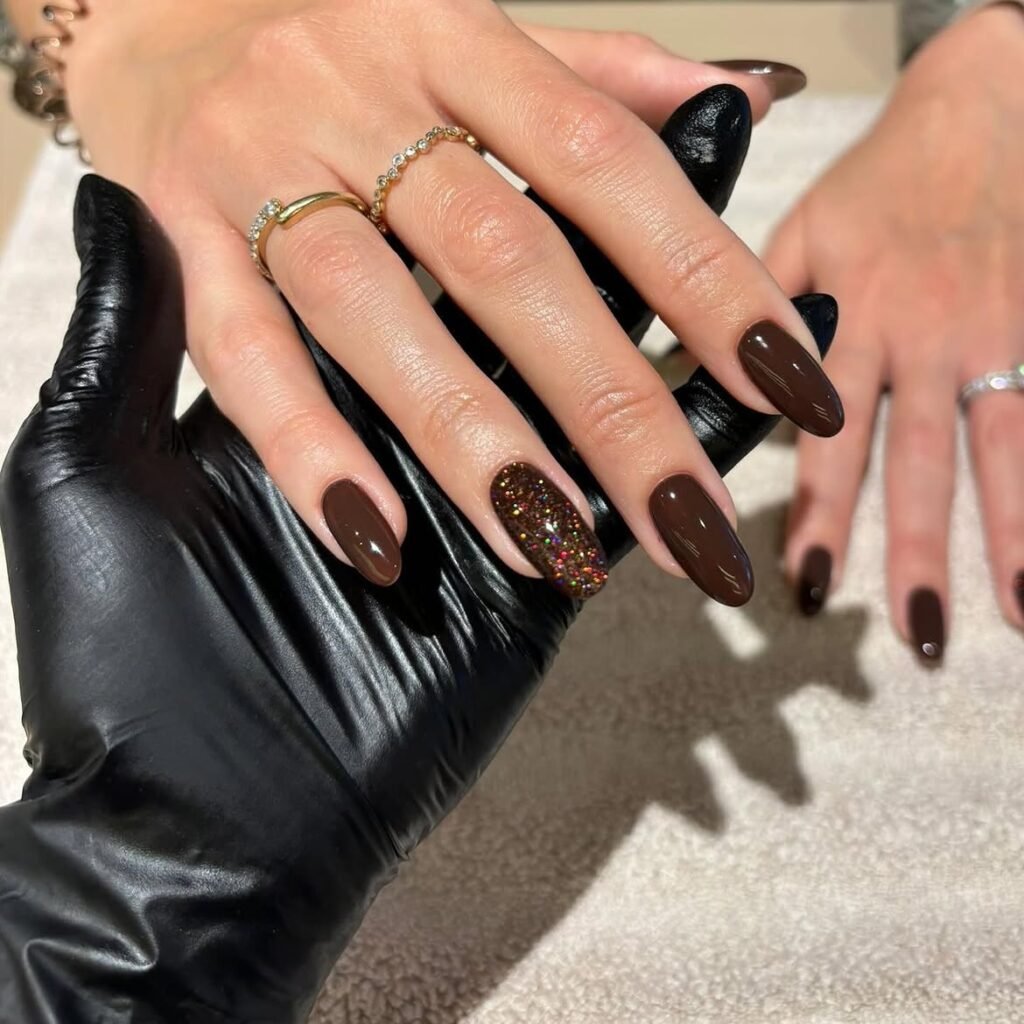
11. Brown Glitter Accent Nails
Glitter accents introduce separate points of sparkle beside a quieter brown base. Choose the particle size and the number of accent nails before adding extra decoration. Fine shimmer gives a different effect from large glitter pieces, even in the same color family.
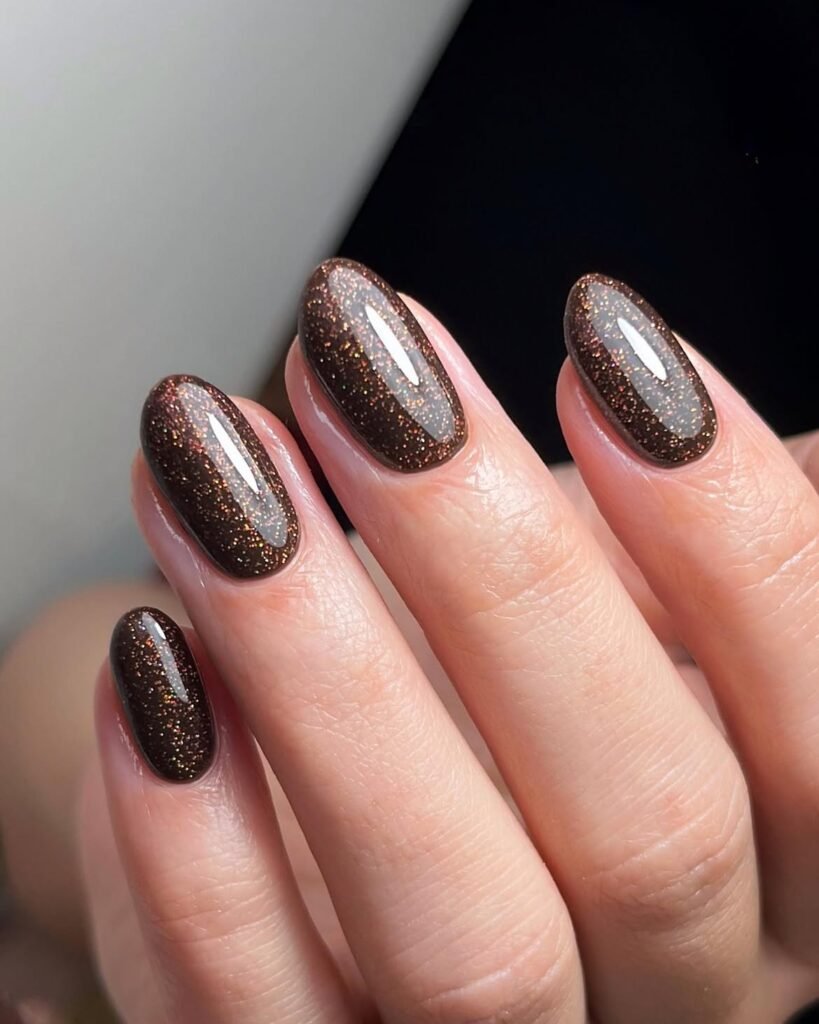
12. Caramel Chocolate Nails
Caramel adds a lighter golden-brown contrast to deeper cocoa. Decide whether to place it on a separate accent nail, in a tip or in a painted curve. Keeping one repeated caramel detail can connect the set without requiring a different design on every finger.
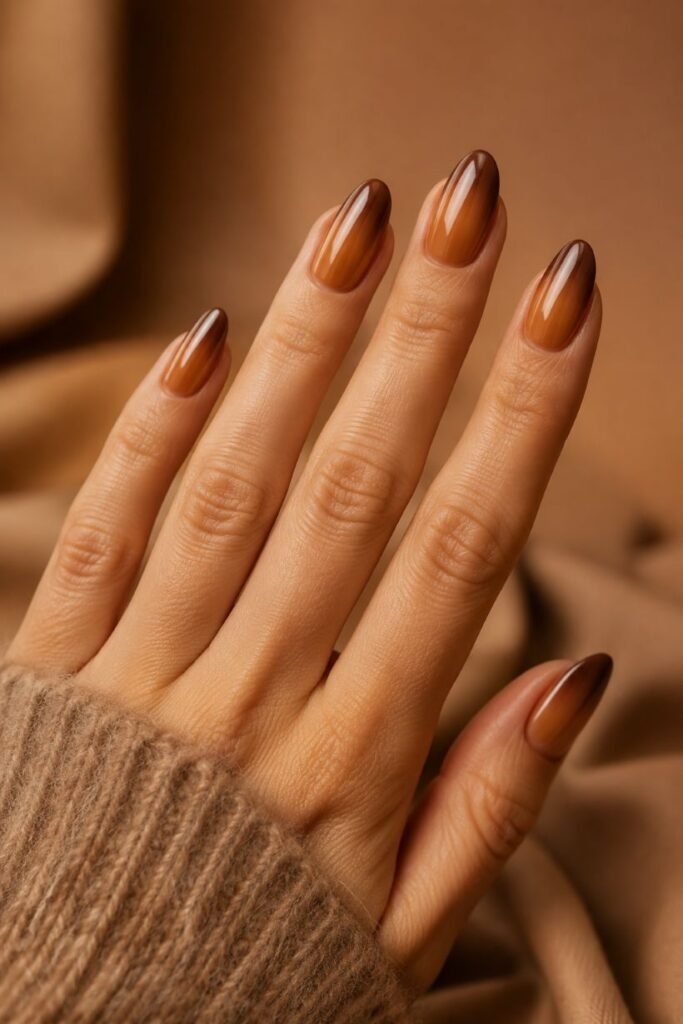
13. Espresso French Tip Nails
Espresso tips use the same French layout as the earlier chocolate version, with a darker edge. Compare the two browns over the same base to decide how much contrast you want. A thinner espresso line can retain the dark outline while exposing more of the base.
14. Chocolate Aura Nails
A chocolate aura arranges the color around a soft focal area rather than along a crisp tip. Tell your technician whether you want the center darker or lighter than the surrounding brown. A reference showing that direction is more useful than the word aura alone.
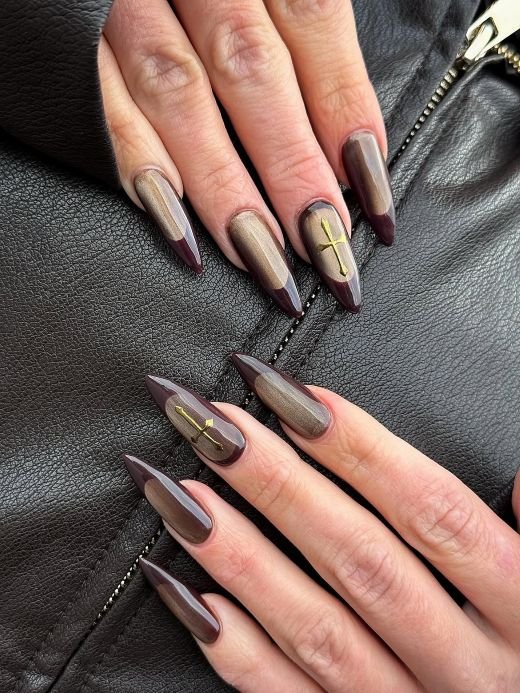
15. Velvet Brown Nails
A velvet-style finish spreads the reflective highlight across the brown surface. Compare it at several angles so you can see the breadth of the glow. Ask for a broad, diffused reflection if you prefer it to the sharper light band of a cat-eye reference.
16. Chocolate Coffin Nails
Coffin describes the tapered sides and squared tip, while chocolate describes the color. Choose a length that feels manageable for typing and handling small objects before deciding on added art. A shorter adaptation can keep the squared end without reproducing a long extension exactly.
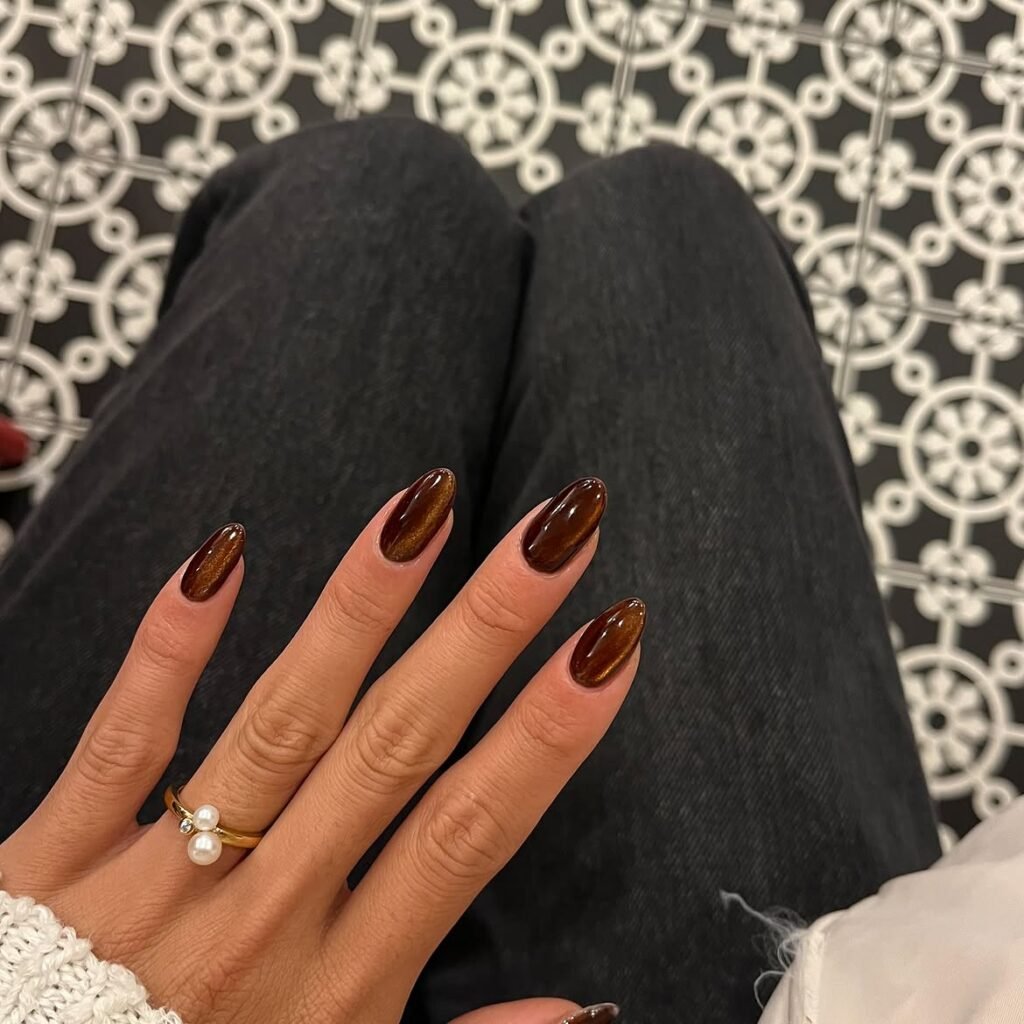
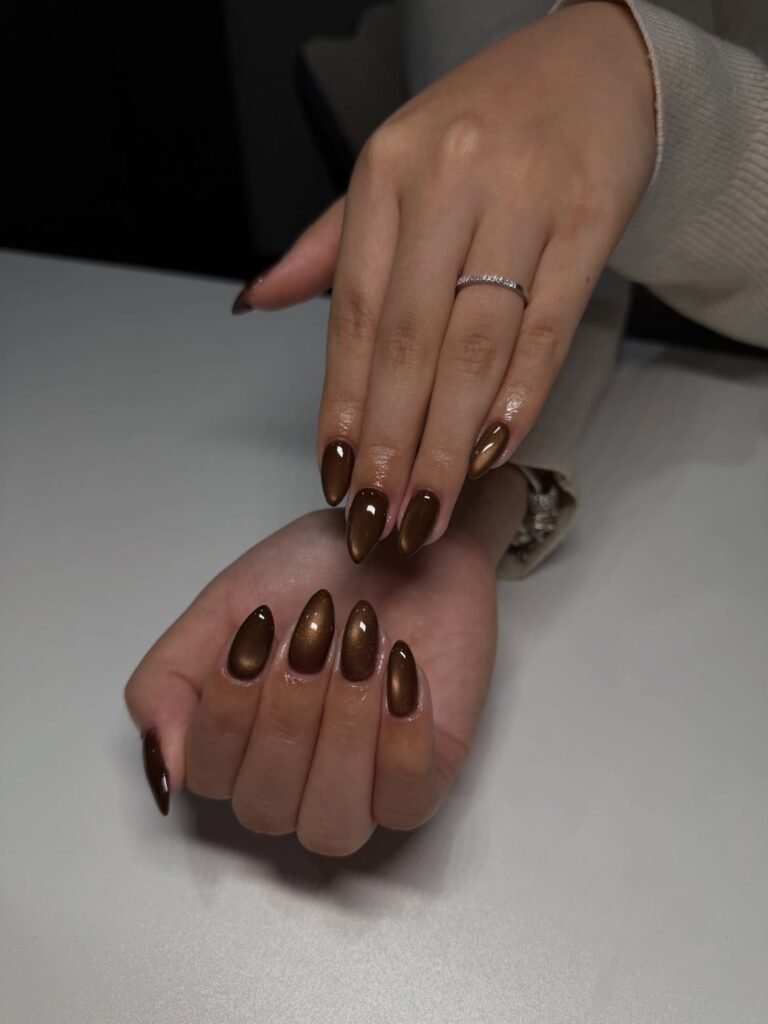
17. Brown Cat Eye Nails
Brown cat-eye nails focus the reflection into a more defined band. Choose its direction and width, then view the sample as it tilts. If using this as a party manicure, the moving highlight can be the focal detail without additional glitter.
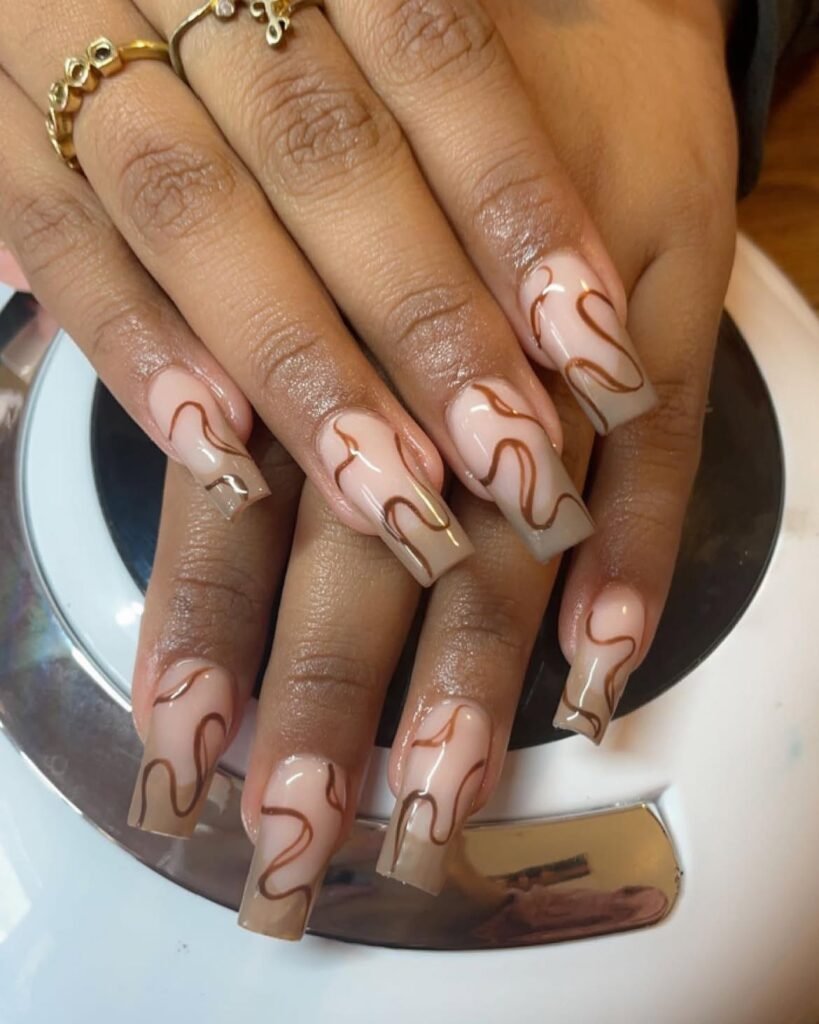
18. Cocoa Swirl Nails
Cocoa swirls use deliberate curved lines, while marble relies on more irregular veining. Sketch one or two curves first and decide where the background should remain visible. On a smaller nail, reducing the number of lines can preserve the pattern more clearly than shrinking every detail.
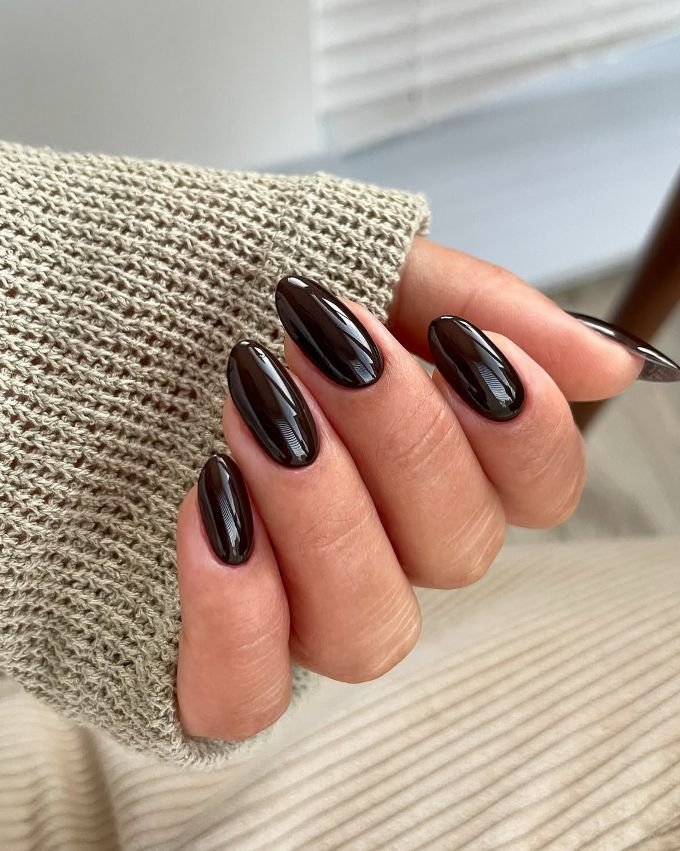
19. Dark Chocolate Brown Nails
Dark chocolate overlaps with espresso; the useful difference is the shade you see on the swatch, not a guaranteed distinction in the names. Compare both under ordinary indoor light and near a window. Choose the one that retains the amount of brown you want in each setting.
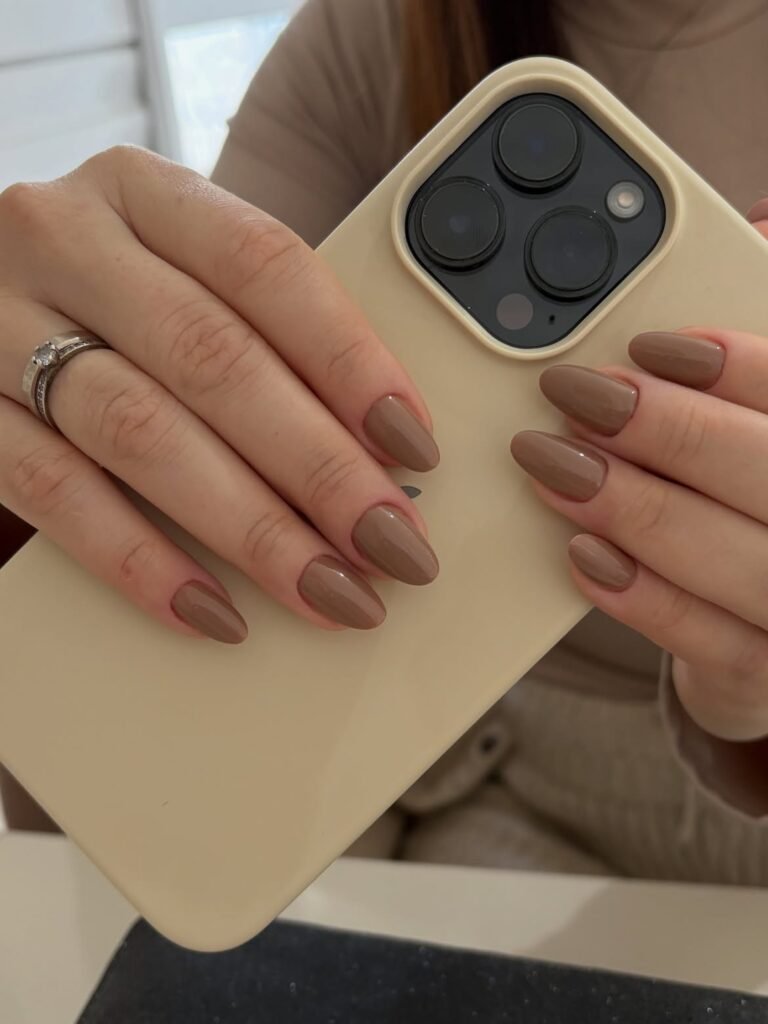
20. Latte Brown Nails
Latte references usually sit toward the lighter beige-brown end of this collection. Compare the undertone with milk chocolate and mocha rather than assuming the labels form a fixed light-to-dark order. A cream finish makes color differences easier to judge than mixing several reflective finishes.
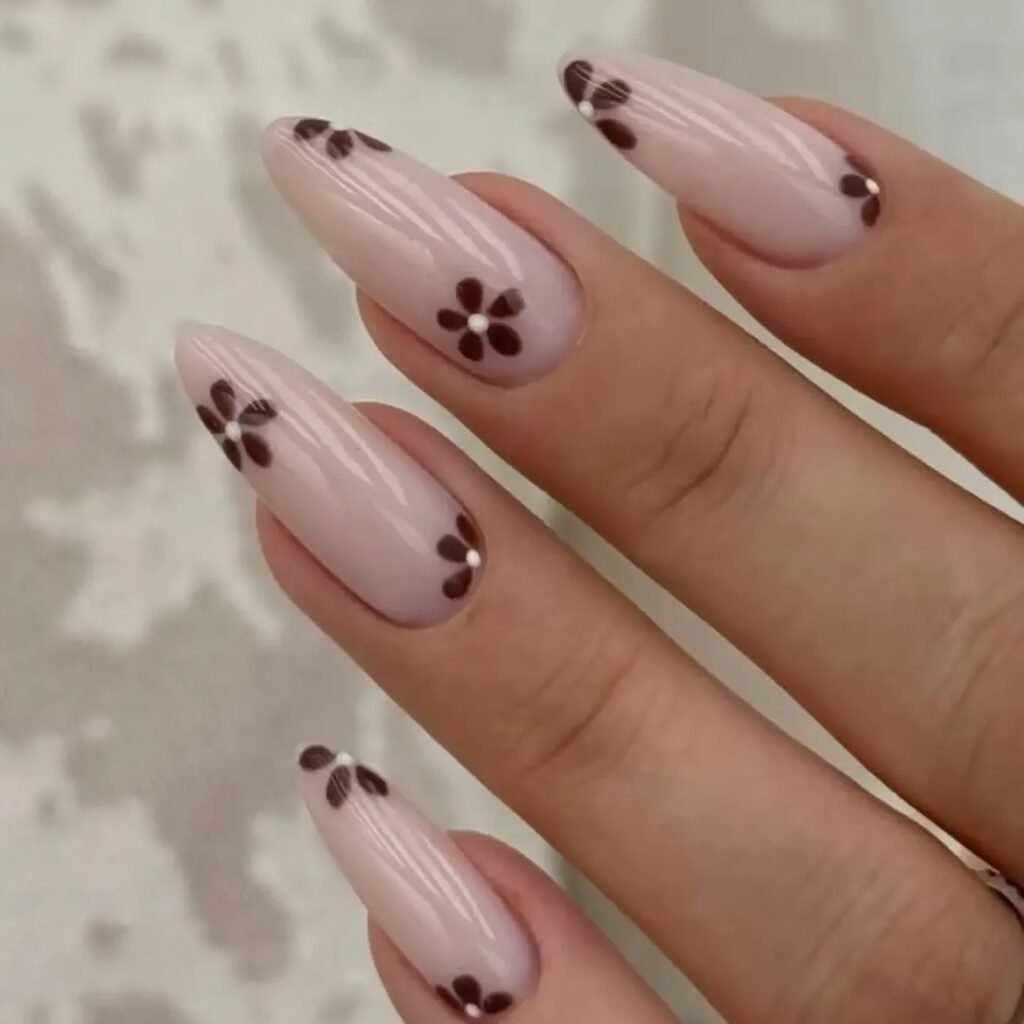
21. Brown Floral Nails
Brown floral art needs enough contrast for the petals to remain distinct. Cream flowers over cocoa are one option; brown petals over a pale base reverse that balance. For a smaller accent, keep one flower and a little open space instead of filling the whole nail.
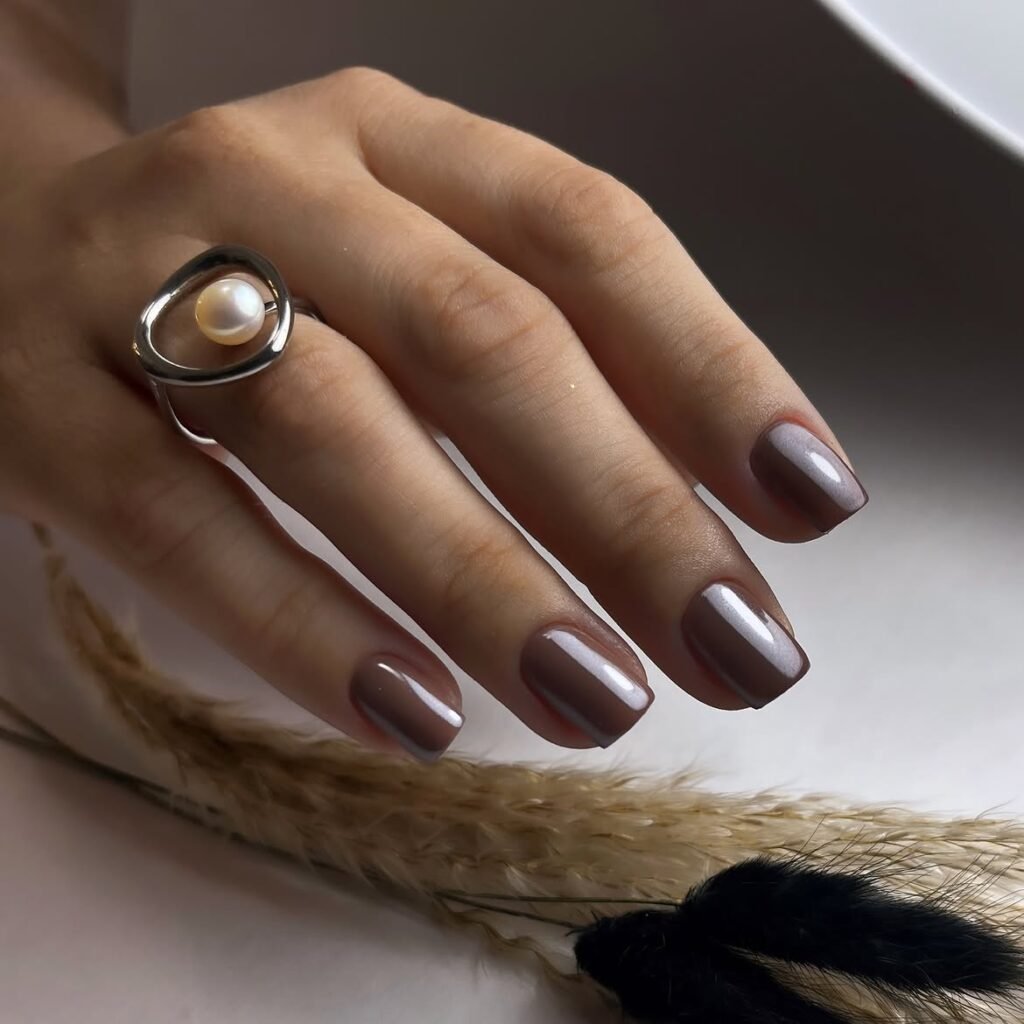
22. Chocolate Pearl Nails
A pearl-like finish adds a softer reflected glow to the brown base. Clarify that you mean a surface finish if you do not want raised pearl embellishments. Compare it with the chrome sample to choose how much metallic reflection should show.
23. Brown Marble Nails
This is another marble reference in the same family as chocolate marble above. Use the two references to choose vein thickness, contrast and how much pale background you want, rather than treating their names as different techniques. Repeating one detail across two accent nails can connect the pattern.
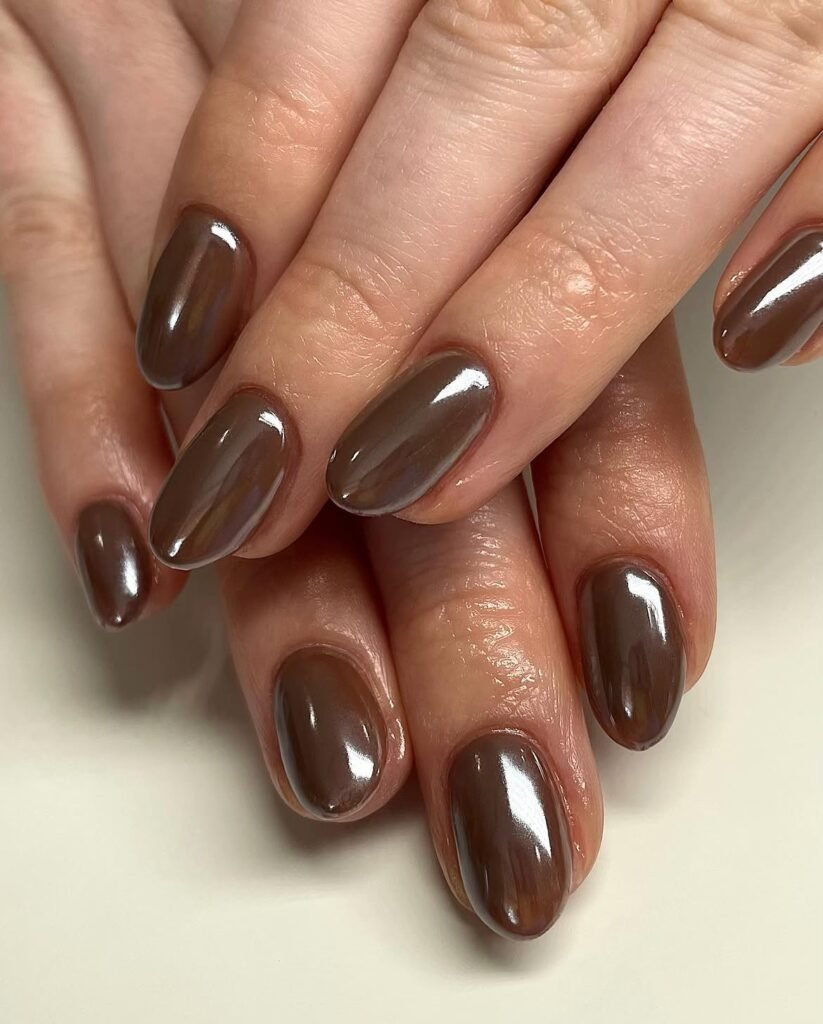
24. Chocolate Chrome Nails
This chrome reference belongs to the same finish family as the earlier brown chrome example. Compare the balance of brown base and reflected color, then ask which appearance you want to prioritize. A single chrome accent is an alternative to applying that finish to the whole set.
25. Cocoa French Ombre Nails
A cocoa French ombré softens the boundary between the base and the brown tip. Specify how far the fade should extend toward the center of the nail. Compare it with a crisp French edge to decide whether you prefer a clear outline or a gradual transition.
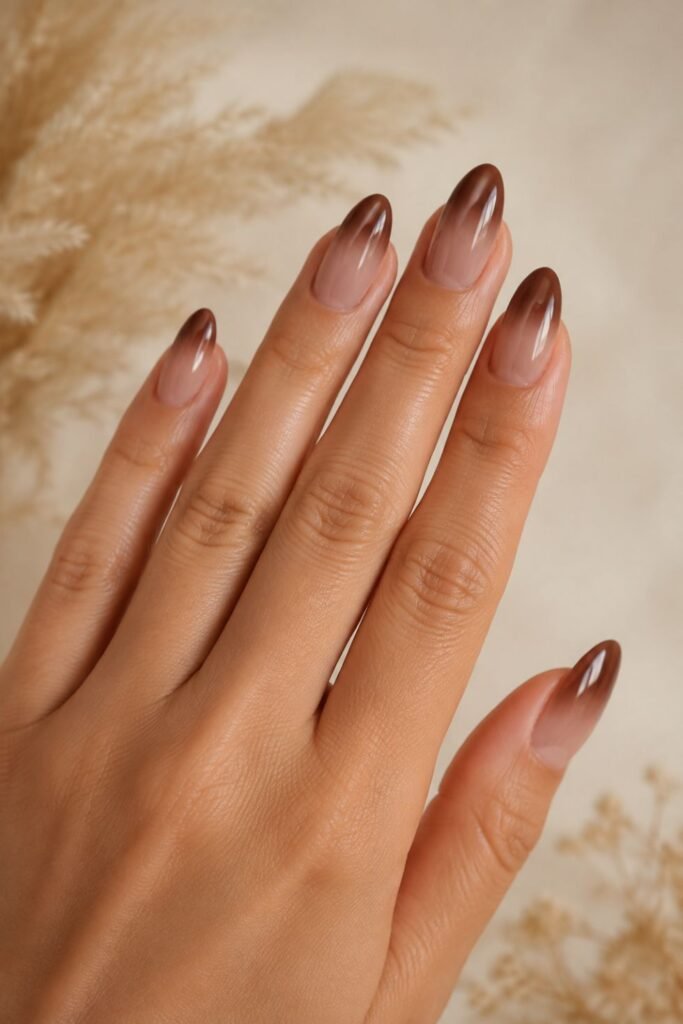
26. Brown Jelly Nails
Brown jelly nails use translucent coverage, allowing the underlying nail to remain visible. A natural free edge will still show through; a tinted natural nail does not become a transparent extension. Choose the depth of the tint separately from the length and shape.
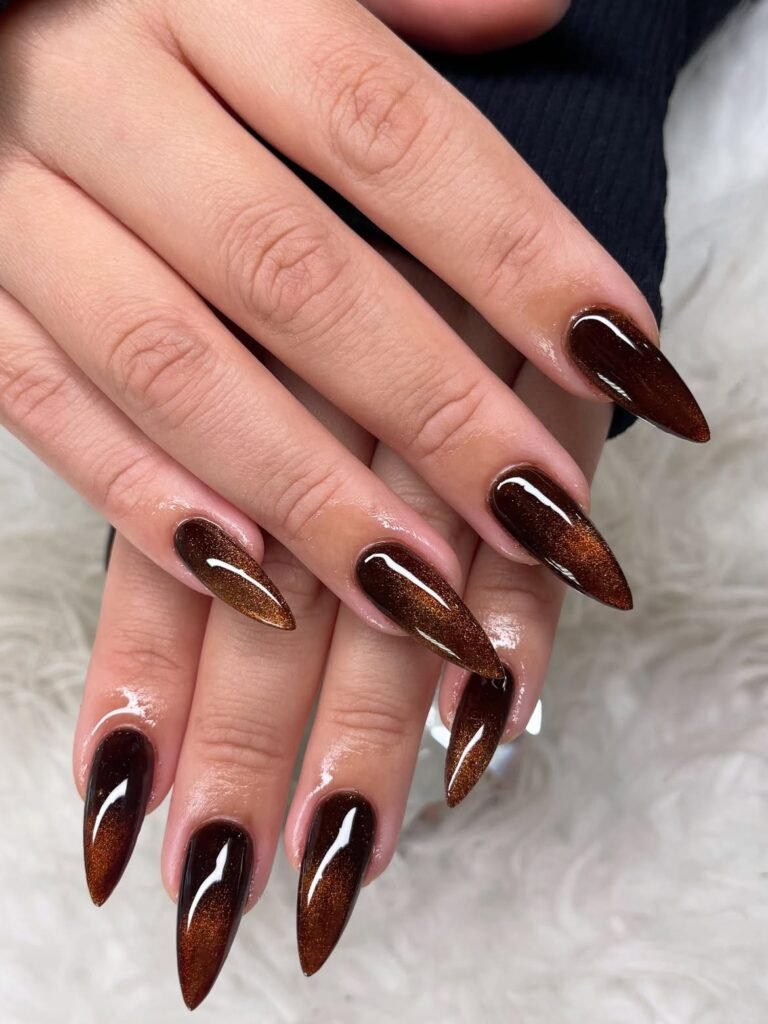
27. Minimalist Brown Nails
A minimalist brown set keeps the decisions to color, shape and finish. It overlaps with the solid glossy brown at the start of this collection, so use it as another reference rather than a separate technique. Skip additional accents if the uninterrupted color is what you like.
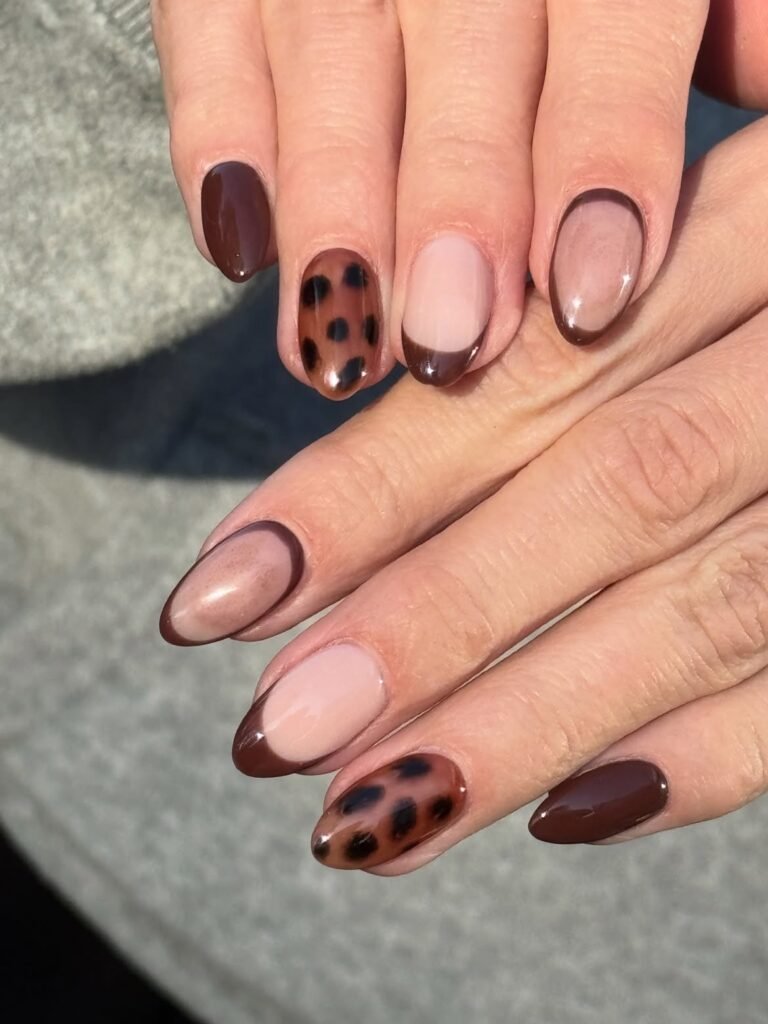
28. Mocha Gradient Nails
A mocha gradient can mean different shades across the fingers or a blended fade within each nail. Specify which arrangement you want. For a tonal set, line up the swatches in order first; a color that looks similar in the bottle may interrupt the sequence when painted.
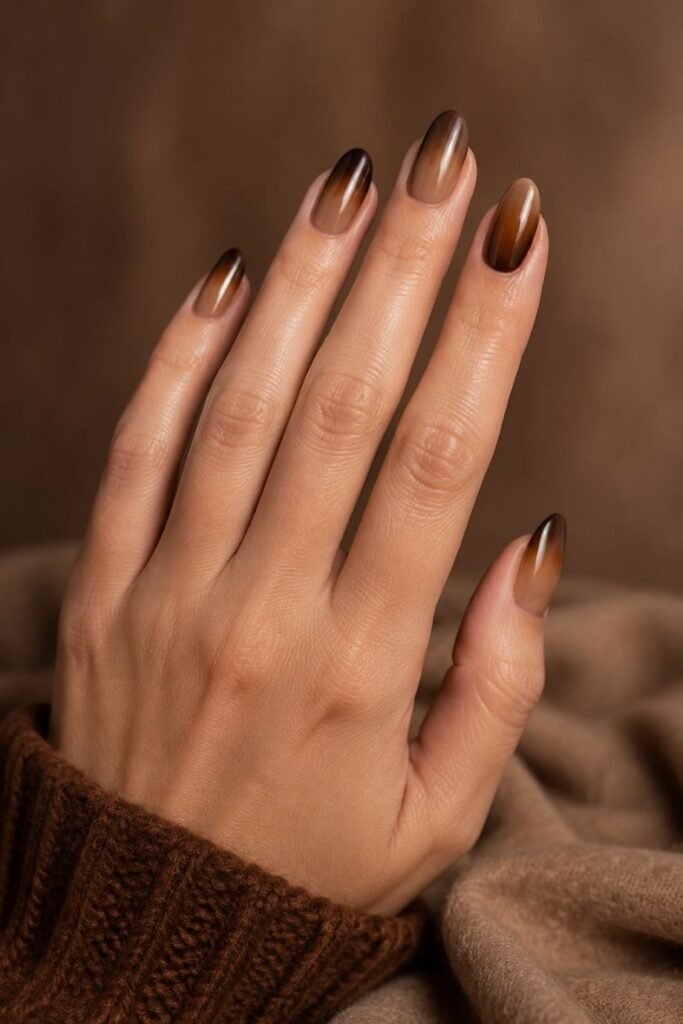
29. Luxury Chocolate Velvet Nails
This deeper velvet reference shares the finish family of the earlier velvet brown design. Compare the darkness of the base and the width of the reflection to choose your version. Luxury describes the styling, not a distinct product or a guaranteed result.
Choose Your Brown by Swatch, Not the Shade Name
Compare three samples together: one lighter beige-brown, one medium cocoa and one deeper espresso. View them against your hand in daylight and ordinary indoor light. Keep coverage and finish consistent for the first comparison, then compare your preferred shade in glossy, matte or reflective versions. A photo is a starting reference, not an exact color match.
What to Specify at Your Appointment
Bring one main reference and list the details you want to keep: shape, length, brown depth, coverage, finish and accent placement. For a simpler version, retain the palette and choose one detail such as a French edge or a marble accent. Ask your technician to confirm the products, texture and appointment time needed for that version before starting.
From cocoa to espresso, brown nails change with the finish and shape. Preview your favorite chocolate look on your own hand.
Try It On Virtually

Bloomie
Bloomie (I) is the founder and author of Nail Blooms, a nail inspiration website dedicated to manicure ideas, nail art, colors, shapes, and emerging beauty trends. My interest in nails began with a simple habit of collecting beautiful manicure ideas and exploring different styles, from timeless nude shades and French tips to creative nail art and seasonal looks. What started as a personal interest gradually grew into Nail Blooms, a space created to make discovering nail inspiration easier and more enjoyable. At Nail Blooms, My goal is to help readers give new ideas, find different possibilities, and feel inspired when choosing their next manicure.
About the editor ↗