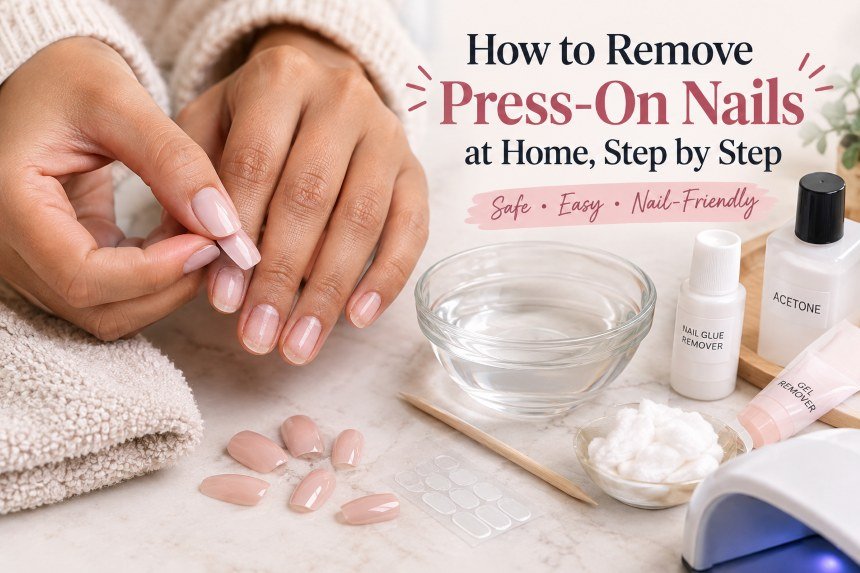
How to Remove Press-On Nails at Home, Step by Step
The safest approach to getting rid of your press-ons is by identifying the adhesive used, softening the adhesive using an appropriate remover, and allowing the process to work. Do not attempt to tear off press-ons if they feel stuck. In cases where the adhesive is sticky and not easy to peel off, water should do the job, but for very powerful glue, a remover or acetone might be required.
However, the choice of the method also relies on whether you intend to reuse the same set. Prior to soaking them in any kind of substance, you need to review your brand’s instructions or the packaging details.
Before You Start: Identify the Adhesive
Two manicures can look identical while requiring different removal methods. Think back to the application: did you peel a backing from a sticky tab, brush on liquid glue, or cure adhesive beneath the tip with a nail lamp? The nail material alone does not answer that question.
| What attached the press-on? | Best place to start | Reuse outlook |
| Adhesive tabs or pre-applied adhesive | Follow the brand’s warm-water or remover instructions | Usually the best chance of keeping the set intact |
| Liquid nail glue | Use the brand’s compatible remover; use acetone only when the directions allow it | Depends on the nail and remover |
| Light-cured gel adhesive | Follow the exact gel system’s removal directions or visit a nail technician | Depends on whether the product is soak-off or file-off |
If you cannot identify the adhesive, do not test it by forcing up a corner. Check the packaging, order history, salon receipt, or product page first. This matters most with gel attachments, because soak-off and file-off products cannot be treated as the same system.
What You’ll Need
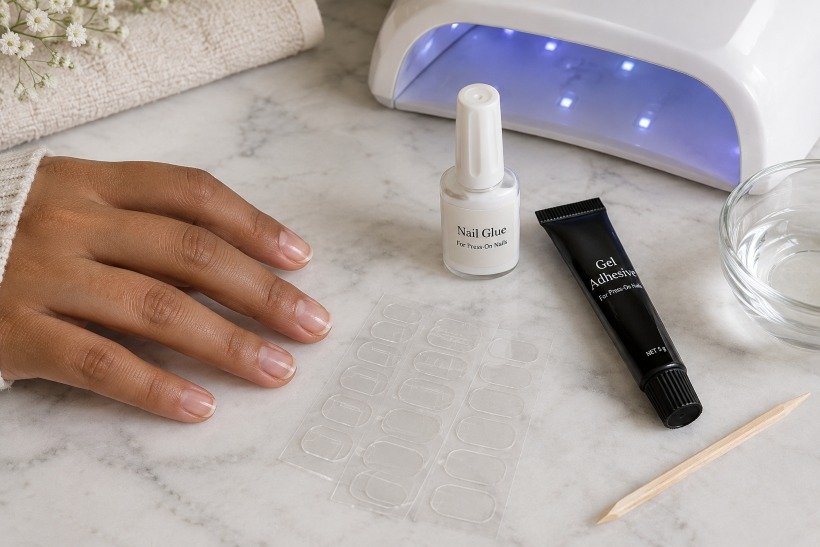
Gather only the supplies required for your attachment method. For most removals, you will need a hand towel, a small bowl if soaking is approved, a wooden cuticle stick, mild hand soap, and cuticle oil or hand cream. Adhesive tabs may need nothing more than comfortably warm water and the remover named by the brand.
If you are using glue-on nails, apply the remover that is recommended by the manufacturer of the nails or acetone according to the manufacturer’s instructions. Apply petroleum jelly around your nail to minimize the exposure of the acetone to your skin. This is also advised by the American Academy of Dermatology when removing gels or polish that contain acetone from your nail. Make sure that the petroleum jelly does not touch the bonded part of the nail.
How to Remove Press-On Nails With Adhesive Tabs
Press-ons attached with adhesive tabs or a built-in sticky layer are usually the easiest to remove intact. Still, follow the timing on your specific set. For example, Glamnetic’s Quick Press instructions begin with a 10-minute soak in warm, rather than hot, water and tell users to continue soaking if the adhesive has not released.
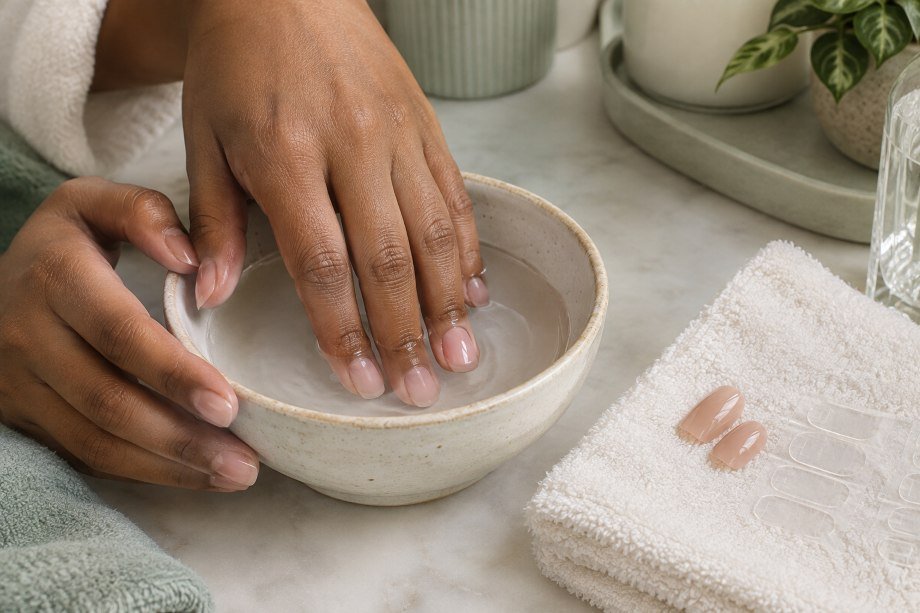
- Remove rings, wash away surface dirt, and fill a bowl with comfortably warm water if the brand approves soaking.
- Soak the nails for the initial time given in the instructions. Keep the fingertips submerged so water can reach the sidewalls and free edges.
- Test one nail at a side edge. If it shifts easily, guide the already-loosened press-on away with your fingertip or a wooden cuticle stick held almost flat.
- Stop as soon as you feel resistance. Return that finger to the water or apply the recommended remover around the seam, then wait again.
- Once the tip releases, roll softened tab residue away gently instead of scraping the natural nail.
- Wash and dry your hands, then apply cuticle oil or moisturizer.
The first soak is a checkpoint, not a deadline. One nail may release sooner than another because tab size, application pressure, water exposure, and wear time differ across the hand.
How to Remove Glue-On Press-On Nails
Liquid nail glue forms a stronger bond than a tab. Some formulas use ethyl cyanoacrylate, including KISS PowerFlex brush-on glue, so warm water alone should not be treated as a universal solution. Start with the removal method named by the glue or press-on manufacturer.
Method 1: Use a Compatible Press-On Remover
- Read the remover label, including its ingredients, timing, and whether it is suitable for reusable tips.
- If a side edge has already begun to release, hold a wooden cuticle stick nearly flat and use it only to expose a small gap. Do not dig toward the center of the nail.
- Apply the remover around the cuticle line and side seams as directed, allowing it to travel beneath the press-on.
- Wait for the full label time, then test with very light pressure. Add more remover and wait again if the nail remains attached.
- Guide off the press-on only when it moves without pulling the natural nail.
Product timing varies. KISS Glue OFF instructs users to wait one minute before gently working at the edge and repeating as needed. Glamnetic’s remover method gives its own five-to-seven-minute interval. Use these as brand-specific examples, not interchangeable rules.
Method 2: Use Acetone When the Manufacturer Allows It
- Confirm that acetone is recommended for the glue and accept that it may prevent reuse of the artificial nails.
- Protect the table, work in a ventilated space, and apply petroleum jelly to the skin around each nail.
- Pour enough acetone into a small acetone-safe bowl to cover the bonded area. If the brand specifically tells you to shorten or break the surface of a disposable set first, follow that direction without filing into your natural nail.
- Soak until the artificial nail and glue soften according to the product instructions. Check gently rather than forcing removal at an arbitrary time.
- Wipe away softened material, repeating the soak where firm patches remain.
- Wash your hands and moisturize once every nail is free.
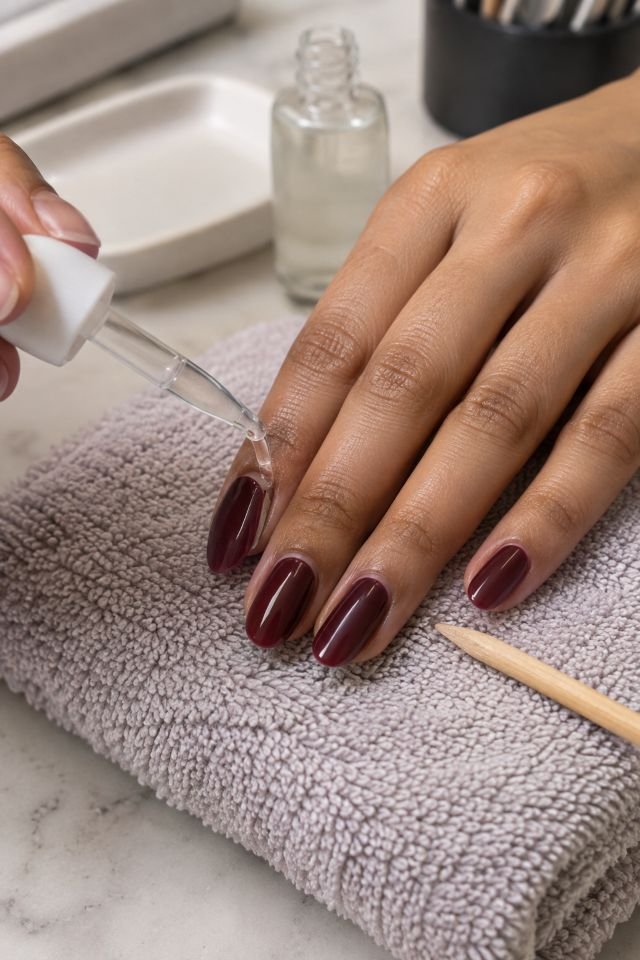
If one press-on refuses to move while the others release, treat that nail separately. Add remover at any visible gap, wait, and test again later. Pain, a pulling sensation in the natural nail, or movement of the nail underneath means you should stop.
What If the Press-Ons Were Attached With Gel?
If the gel beneath the tips was cured with a lamp, locate the exact adhesive before removal. Some gel products are designed to soak off, while others require controlled filing. The American Academy of Dermatology’s artificial-nail guidance also distinguishes soak-off gel from products that must be filed away.
Do not keep extending an acetone soak when the product is actually file-off, and do not file blindly until you reach the natural nail. Ask the technician who applied the set, consult the manufacturer’s directions, or have the manicure professionally removed if the system is unknown. A lamp used only to cure a top coat does not mean the press-ons themselves were attached with gel; in that case, identify the glue or tabs underneath and use the matching method.
Removing Press-On Nails Without Acetone
Learning how to remove press-on nails without acetone begins with the adhesive label. Warm water can work for many tab systems, built-in adhesives, and certain glue-on sets whose manufacturers specifically allow soaking. Use comfortably warm water, complete the suggested initial soak, and continue in short rounds until the edges release without effort. Adding oil may provide slip in methods that permit it, but oil should not be described as a universal glue dissolver.
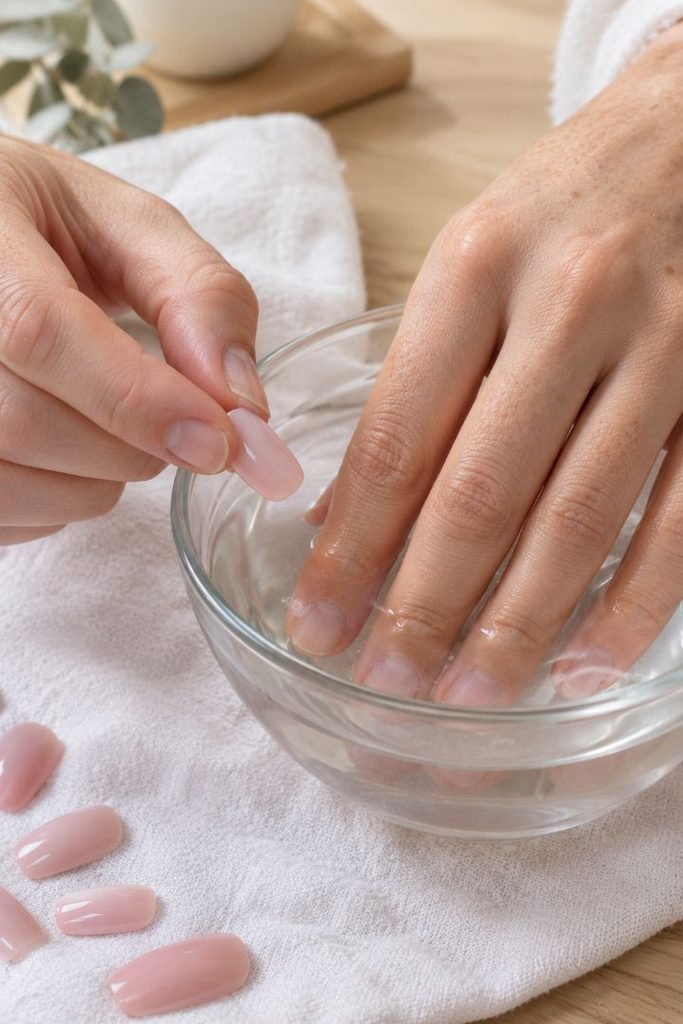
An acetone-free press-on remover is another option when it is compatible with the adhesive and artificial nail. “Acetone-free” does not mean the product contains no solvent: for example, Glamnetic lists propylene carbonate and water in its remover. Read the directions and ingredient list instead of relying on “no soak” or “gentle” wording alone. If the nail remains fixed after the approved method, pause and use the manufacturer’s stronger removal route rather than increasing physical force.
Removing Press-On Nails You Want to Reuse
In order to remove press on nails and re-use them, the first step should be to ensure that the specific brand of press on nails allows for re-use. The presence of an apparently strong tip does not mean that it is meant for re-use. Also, there may be special instructions in one collection from a particular brand. However, the process of removing press on nails should be done according to the instructions of the manufacturer.
Work one nail at a time and allow the adhesive to release fully. Once the set is off, arrange the tips in finger order so you do not have to resize them later. Clean the underside only by the method recommended for that product; aggressive drilling or scraping can thin the contact area and change the fit. Let every tip dry completely before placing it in a clean case. Discard any nail that has warped, cracked, developed a sharp edge, or still carries residue that prevents it from sitting flush.
Getting Leftover Nail Glue Off Your Natural Nails
The thin layer of adhesive becomes more manageable when it softens up. Place a new coat of the compatible solvent on the glue, allow the required time and then remove what softens. In cases where the manufacturer allows the use of acetone, apply for a few seconds more to the hard areas and clean the hands after. Do not use a sharp instrument to scrape the nail plate or polish until all marks disappear.
An extra fine buffer can smoothen some amount of softened residue, but it should be done with minimal pressure until the natural nail appears chalky, thin and uneven. The objective here is comfort, not polishing, because fresh liquid glue on the skin or body part glued together is another matter, compared to residue on a manicured nail. According to the information provided by Poison Control regarding cyanoacrylates, one should not attempt to separate bonded surfaces. Instead, follow the instructions from the first-aid kit or seek advice about a particular accident.
Aftercare and When to Get Help
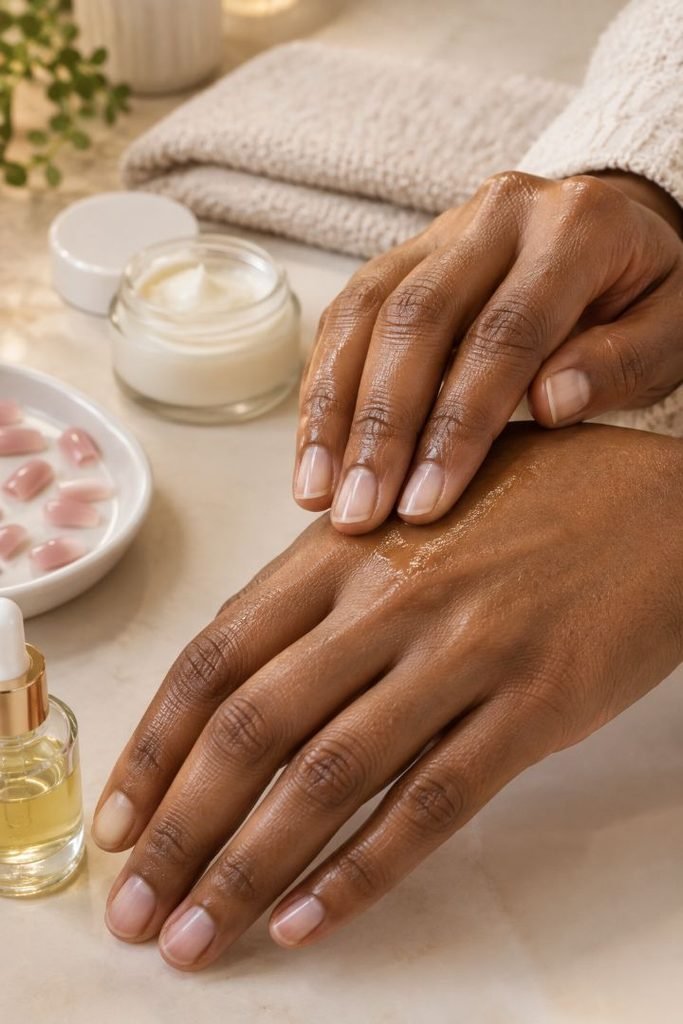
Rinse off the remover and any softened glue residue with soap. Dry hands thoroughly before applying moisturizer or cuticle oil around the nails. Solvents leave nails temporarily dehydrated, and this issue resolves by repeating the moisturizer application over several days. Trim down nails to prevent the loosened free edges from catching. Refrain from wearing another set of press-ons until soreness subsides. There should never be a need to peel anything away from natural nails.
Look at each nail individually before placing a new artificial nail on top of it. Artificial nails will detach from natural nail beds. Natural nails must not detach from underlying tissues. Swelling, warmth, continuous discomfort, breaks in nails, green-black discoloration, or lifting natural nails indicate problems needing medical intervention. “According to the American Academy of Dermatology, any swelling, discoloration, or separation of nails require evaluation by a dermatologist”. Never cover up any abnormalities with artificial nails.
Final Thoughts
The ideal approach to removing press-on nails depends on the substance that adheres them to the nail bed. The tabs and the adhesives used can be peeled off through the use of a technique recommended by the manufacturers, involving warm water. When a liquid adhesive was used, then the proper remover or acetone may be needed to remove the press-on nails.
Whatever the procedure you use, the adhesive should dictate the process speed. If the press-on nails have been properly softened, it should not take much effort to remove the press-on nails; if there is pulling, pain, or movement of the natural nail, further preparation will be necessary before the removal of the press-ons. Following the product directions and caring for the nail after its removal will require more time than peeling off the nails, but it increases the chances of having healthy nails.